Tag Archives: recipe

Kumquat preserve

 Hi there! First of all, I’d like to say Happy belated Easter to all who celebrated it, hope you had a really great, joyful and warm holiday!
I’ve been out of bloogging for some time, because my sister visited me and I didn’t have free time to post; we were walking, swimming, shopping and chating all days long. We meet really rarely – one or two times a year, and I miss her all the time..

 Thus I didn’t prepare anything for the Easter this time, but I’ve got a great recipe of the citrus preserve! It is the unusual one, because made out of kumquats!
I do like kumquats, that sometimes to treat myself I’m buying a kilo and eat them alone. 😀 Just joking. I have never seen any kumquat jams in stores, and if you like it’s citrus bitterness – go for it!
Jam-2

Kumquat preserve

  • Servings: 2 jars
  • Difficulty: easy
  • Print

Such homemade preserve makes a great gift for family or friends.
 
Ingredients:
500g firm kumquats, cleaned and sliced
400g white sugar
120ml water
2 star anise
1 cinnamon stick
 
  1. In a saucepan, put sugar, water and spices, stirring until the sugar has dissolved.
  2. Add kumquats.
  3. Bring the ingredients to boil. 
  4. Then switch off the heat, remove the saucepan from the hob and set aside to cool.
  5. After 1 hour return the saucepan to the medium heat and simmer for 15 minutes.
  6. Repeat the step #5 and #4 two more times.
  7. Pour the preserve into prepared hot sterilized jars and seal, or eat it straight away.

Jam-1
I’ve eaten the result on toast, as topping for panna cotta or cheesecake, and even with chicken!
The preserve is perfect for person who likes the bright, bitter and familiar flavor of orange! 🙂
Jam-3

Vareniki

 Almost everybody in Russia knows and adores vareniki! So do I. 😀
Vareniki – are dumplings, stuffed with savoury or sweet filling.

Vareniki-9

It’s considered that vareniki is a traditional Ukrainian dish, but originally it came from Turkey. It was a dish made from boiled unleavened dough with meat and vegetables filling. When “Vareniki” appeared in Ukraine for the first time, they were called ‘diush-var’. The Ukrainian people liked this dish so much that these dumplings quickly spread over the Ukraine and beyond, and became widely-popular, turned into traditional Ukrainian cuisine and began to call as ‘vareniki, and this name simply means – boiled.
 Ukrainian savoury vareniki are usually topped with shkvarki – fried salted pork fat, and also can be topped with fried onions or just accompanied with sour cream according to local taste or preferences (i.e. last two toppings are quite popular in Russia).
 The most popular fillings are potatoes, mushrooms or fish. Vareniki could be also made sweet, with cherries or sweet cottage cheese filling.
There are many recipes of vareniki nowadays, with egg or sour cream in dough, based on water or kefir.
My recipe is the simplest one, and I used a mix of mashed potatoes and mushrooms. You can use the same dough for sweet fillings, such as cherries or black currant.
Here is the short video how I make these lovely twisted edges of the Vareniki.

Vareniki

  • Servings: ~70 pieces
  • Print
Vareniki can be frozen well, that’s why I usually make a big batch, put them in ziplocks and freeze! No need to defrost before cooking.
 
Ingredients
The dough:
500g plain flour
1 egg
2 tsp salt
200 ml warm water
The filling:
800-900 g potatoes, boiled and mashed
1 onion, cut into small cubes
300 g wild or button mushrooms, sliced
1 Tbsp oil + 1 Tbsp butter 
Small bunch of dill, finely chopped
Salt, pepper to taste
Garnish per portion:
1-2 Tbsp sour cream 
1 Tbsp chopped dill 
a knob of butter 
 
Method
  • Dissolve salt in warm water. On a flat surface make a well in the flour, add egg and salted water. Knead until the dough is pliable. Cover with plastic wrap or towel and let rest for 20 minutes.
  • Meanwhile, saute onion and mushrooms in oil and butter. In a bowl combine mashed potatoes with vegetables and dill. Season to taste. The filling is ready.
  • Roll the dough into 8cm/3-inch circles, place 1 tsp potato mixture into center, fold the dough over filling and press it.
  • Bring a large pot of salted water to boil (salt the water as for pasta or you like). Put vareniki into water and carefully stir with a spoon. When they come to the surface – cook for 4-5 minutes more.
  • Serve vareniki with sour cream, chopped dill and a knob of butter on top.
 You can brown vareniki a bit in a butter straight after the boiling. Serve with sour cream, but already without extra butter on top.
 
Enjoy the delicious vareniki! 🙂

Are you going to Angie’s party? You can try superb cocktail there! 😉

Healthy&Light Vegetable Soup with Chicken

 I guess we all didn’t like veggies when we were kids 🙂 kids mostly love fruits and so was I, because fruits are sweet and veggies are not. But, despite our childhood preferences my today’s post is about vegetable soup which I could probably like many years back if I would tried it before. My today’s soup is light, smooth and simply delicious.
 When I made it first time and tried, it was love from the first spoon. 😀 In Russia soup has another look (like Schi I posted about earlier), but creamy soup have different consistency and taste. Needless to say, that soup with fresh veggies and plenty of protein in chicken breast are always a healthy choice for a general well-being and also for those who look after their body shape.
Such soup for dinner can be a weekday lifesaver, especially if you make a huge pot ahead! 😉
Chicken vegetable soup-2
This soup can be made completely vegetarian, or based on chicken stock (nothing beats the flavor of homemade chicken stock!), or it’s good way for using leftover chicken. Do what works best for you. 🙂

Ingredients:
Cooked or raw chicken breast – 2, medium size
Zucchini – 1 large
Bell peppers – 2-3
Tomatoes – 3
Onion – 1
Garlic clove – 1
Dry thyme – 1 tsp, optionally
Bunches of dill and/or parsley, finely chopped, or 2 tsp dry
Olive oil – 1 Tbsp
A pinch of chilli or cayenne pepper
Salt, pepper – to taste
Chicken vegetable soup-1
Preparation:
  1. If you make this soup with raw chicken breast follow next step, otherwise go to the step 3.
  2. First of all, put the chicken breasts into a pan and cover with water (1l/34oz or so). Add bay leave, whole small onion and several peppercorns; bring to boil, simmer for 20 minutes or until the breasts are ready. Discard herbs and onion. Take the chicken out, cool it, then cut into small cubes and set aside. Reserve the stock. You can do it a day or two ahead.
  3. In a soup pot, heat the olive oil. Add the onion and cook until tender for 5 minutes.
  4. Cut bell peppers into cubes, add to the onion and saute for 4-5 minutes.
  5. Cut the zucchini into cubes, add to the veg-mixture and saute for 2 minutes more.
  6. Add chopped garlic, herbs* and chili pepper, stir and cook for 30 seconds more.
  7. Chop the tomatoes, add into the pot along with chicken stock (or water), season with salt and pepper and simmer for 10-15 minutes.
  8. Puree the soup until smooth. Put chicken cubes* into soup, bring it to a boil. Cover with a lid and simmer over moderate heat about 10 minutes.
  9. Ladle the soup into bowls, garnish with fresh dill or parsley and serve with baguette slices.

*I recommend reserve some chicken and herbs for garnish.

Enjoy!
Chicken vegetable soup-3
And now, would you like a dessert?  Have a look here!

Sunny peachy-nutty cake

Days go by and summer is slowly coming to Dubai, winter doesn’t want to give up though, giving us some cloudy days sometimes but its days are counted…
 One lovely morning I was at home, and looking at the dull skies, I decided to make something special for the afternoon tea, something sunny, sweet-smelling and new, a cake that I’ve not tried before, and it should be fruity. 
I have to say that I do not normally know what I’m going to cook this or next day, I’ve never have a master plan for a week ahead, and prefer to be inspired by details around me, whatever I see, read about food or trying something myself, rather than be organized in the proper food-blogger way 🙂 
  So, I went to a grocery to look for an inspiration. One important and remarkable thing about buying food in Dubai is that large groceries and markets here do always and really inspire me; we have no such variety of fruits in Russia, and every time I go for a shopping, whether it is some oranges for a morning juice or avocados, I never know from which part of the world these fruits or veggies would come from. And that day was not an exception. Without even roaming between fruit rows I remarked some nice peaches shortly after I entered the shop, and once I came closer and took a couple of them in my hand, I already decided that it’s going to be a beautiful peach cake!
 Peaches always remind me of summer, they share the same bright and yellowish colour of the pulp with the sun, giving the cozy feeling of warm and sunny days.
 At home I cut one fruit and tried it. I was slightly disappointed that the peaches weren’t as juicy as I expected, but that  turned into fantastic peach cake in the end… 😉Peach pie-2Ingredients for the cake:
Peaches* – 4 big 
Eggs, at room temperature – 3
Yoghurt -150g or 0.6cup
Sugar* -100g or 0.5cup 
Butter, cut into small cubes – 130g or 0.6cup
Self-raising flour – 150g or 1cup (or 1 cup plain flour + 1 tsp baking powder)
Cornmeal – 2 Tbsp
Whole walnuts – 130g or ~1cup
A pinch of salt
Lemon zest – 2tsp
Orange zest – 1tsp
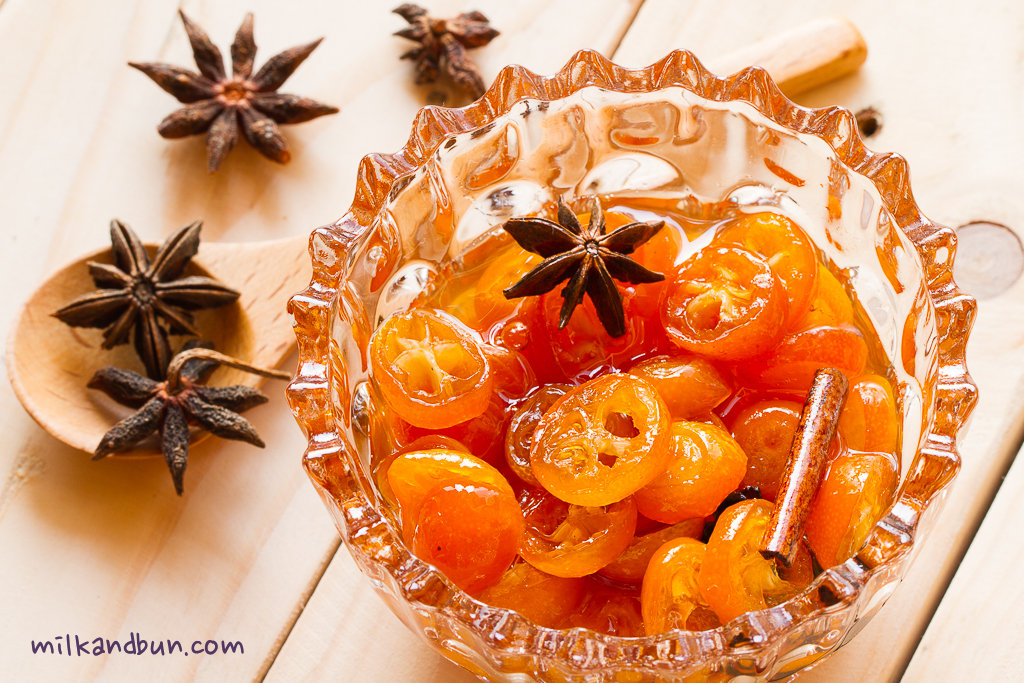
Ingredients for the mandarin sauce:
3 big mandarins*
2 Tbsp lemon juice
3 Tbsp water
2-3 Tbsp icing sugar
1 Tbsp cognac (or brandy, or Grand Marnier) – optionally
 *Really good substitution for peaches are nectarines! 
*I used only 100g of sugar and that means the cake won’t be sweet, 
I suggest sweeten it with 150g or 3/4cup of sugar.
*I used mandarins, just because :D; oranges go well here too, as you already guess.
 
The cake preparation:
  • In a bowl beat the butter and sugar together;
  • Stir in one by one eggs;
  • Add yoghurt and citrus zest, combine;
  • Ground the walnuts, add to the batter and mix;
  • Sift the flours and salt into the batter mixture;
  • Grease the baking dish with butter or oil. Pour the cake batter into it;
  • Cut the peaches into wedges and stick into batter;
  • Bake in preheated oven 210C/400F for 45-60 minute;.** 
  • Meanwhile prepare the mandarin sauce for the cake;
  • Let the cake cool a bit. Pour the mandarin sauce over it. 
Mandarin sauce preparation:
  • First of all, squeeze the juice out of mandarins; 
  • Combine citrus juices, water and sugar in a small saucepan; bring to boil;
  • Reduce heat to low, add cognac and simmer for 10-12 minutes;
  • Remove from the heat and cool.
**When I’m using a glass dish for the cake, it takes me little bit longer to bake it. 
Thus after 40 minutes, pls check the cake is done or not yet.
To check the cake’s readiness – tuck into a toothpick, if it comes out dry –  the cake is ready.
Peach pie-1
  The final result overcame all my expectations –  the cake tasted fantastically! The peaches became tender and even more sweeter, and because they were not so juicy they kept their integrity. Needless to say about aromatic mandarin sauce.. I’ll definitely be making it again!
 I also suggest to sprinkle some icing sugar on the top along with the citrus sauce.
P.S. Several days back I didn’t even know that there is such type of flour as ‘cake’, thanks to dear fellow-blogger Suzanne, now I know about it and adding cornmeal everywhere…Haha 
Hey, are you still here? 🙂 Go and bake the cake!
 Have a sunny and bright day, guys!

Khvorost

Khvorost-5  Khvorost is a traditional Russian crispy sweet which made out of dough, shaped into twisted ribbons and deep-fried. The name means ‘brushwood’, it was given because of similar look to a real brushwood and  a sound ‘crack-crack’ when you bite the crunchy sweet khvorost. 🙂
 Khvorost was very popular in the 18-19th centuries and commonly eaten among petty bourgeois, shopkeepers, clerks and students, who could gather and spend a little amount of money on this crunchy treat.
  When pastry and confectionery industry progressed after 1930-50th, bringing more sweet products such as caramel candies and variety of cookies the khvorost itself became less popular.
Ingredients
3 egg yolks
1 Tbsp sour cream
100 ml full-fat milk
2 Tbsp cognac (or vodka)
pinch of salt
500g flour (white, all-purpose)
icing sugar for dusting
sunflower oil for deep-drying
Method
 Whisk well egg yolks with sour cream, milk, cognac and salt. Adding the flour gradually to the egg mixture, knead a dough until soft, cohesive and no longer sticky (thus don’t add all the flour at once, or even add some if needed).
 Place the dough in a bowl, cover with a towel or plastic wrap, let it rest for 20-30 minutes.
Roll the dough out on a floured surface to 1cm/0.4″ thick. Cut strips (2-3cm/1″ width and 8-10cm/3-4″ length), make a small cut in each strip and fold one edge into it.
 Heat the oil in a large pan and cook khvorost on both sides until golden (1-2 minutes). Ready ones set on a paper towel to get rid of fat excess.
 Sprinkle with a good quantity of icing sugar.
Sugar is not added into genuine classic khvorost dough , that helps to make it more fluffy; thus sprinkle lots of icing sugar or pour some honey over ready ‘ribbons’ .
Khvorost-3 Enjoy with a cup of black tea or milk, or leave some for the morning coffee! 😉Khvorost-4Follow my blog with Bloglovin
1 25 26 27 31