One is dreaming about spring and warm days, another like me wants the weather staying cloudy and windy as longer as possible. This soup is not something extraordinary, but it is comforting and hearty. It nourishes and fills you up, and sometimes that’s exactly what you need after a long day at work. I love lentils because they are healthy – contain protein, fiber and vitamins, and easy to prepare – you do not need to soak them for hours.
Aromatic bay leaf and hot chilli flakes make this thick soup brighter! So, wake up your taste buds and start cooking the soup, it’s a great way to warm up your belly and bowl!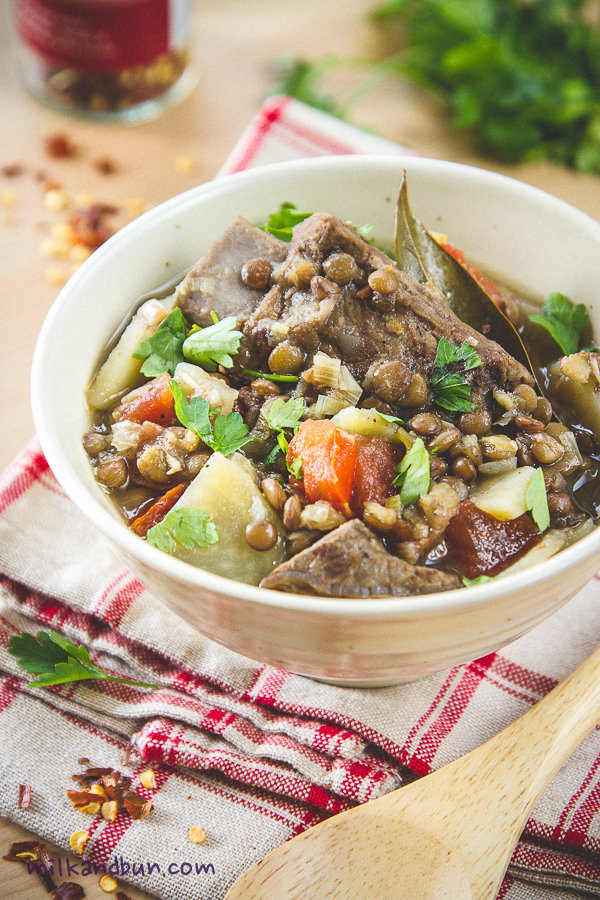

If you want this soup to be vegetarian, feel free to omit the meat or try this recipe of red lentil soup (meatless).
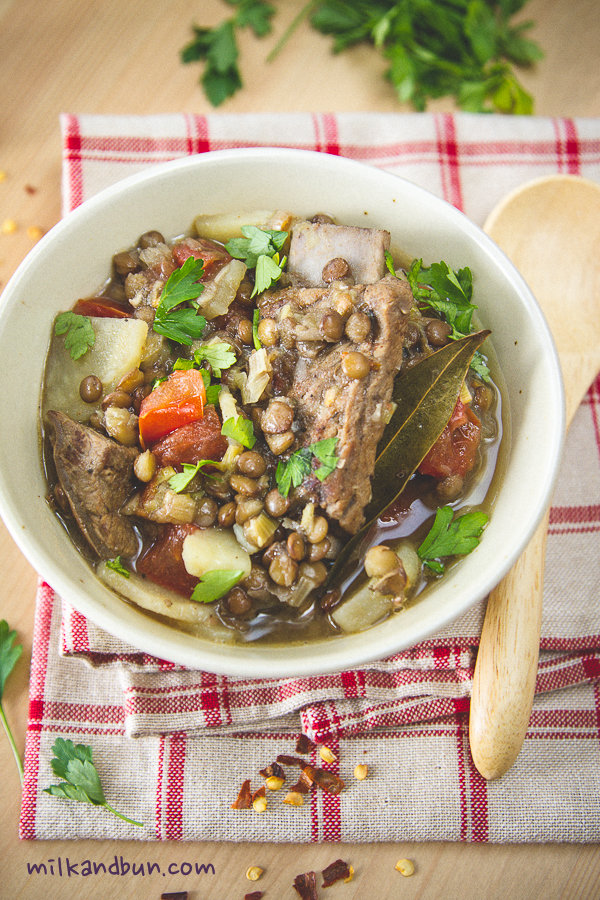

Thick lentil soup with pork ribs
Ingredients

200g pork ribs, cut into segments
200g beef, but into medium cubes
4-5 black peppercorns, optional
100g brown or green lentils, washed
1 small leek and 1 small red onion, sliced
2 small potatoes, peeled, cubed or sliced
1/2-1 tsp chilli flakes
1 garlic clove, chopped
1 bay leaf
1 medium tomato, chopped
1+1 tbsp olive or other veg oil, for frying
salt, black pepper to taste
small bunch fresh parsley or coriander, chopped, for garnish
Method
- In a frying pan, heat oil and fry pork ribs and beef cubes from all sides on high heat until just browned. Transfer the meat to a soup pan along with peppercorns, cover with water. Bring to boil, reduce the heat to medium, cover with a lid and simmer for 20 minutes. Do not season with salt, it will increase the lentils cooking time.
- Add lentils to the pan, and simmer for 15 minutes.
- Meanwhile, in the same frying pan (you use another one if you wish), add more oil if needed, and fry leek and onion on a medium heat for 5 minutes. Add potatoes and fry for another 5 minutes. Turn off the heat, stir in chilli and garlic, saute for a couple of minutes.
- Stir vegetable mixture into soup, season to taste and simmer on a low heat for 15 minutes or until lentils and potatoes are cooked.
- Serve hot, sprinkle with chopped parsley.
Enjoy!
Adapted from Rus magazine “Collection of recipes”, 2010
Sharing with lovely foodie-parties: Throwback Thursday, Fiesta Friday, Saucy Saturdays, Foodie Friends Friday Party