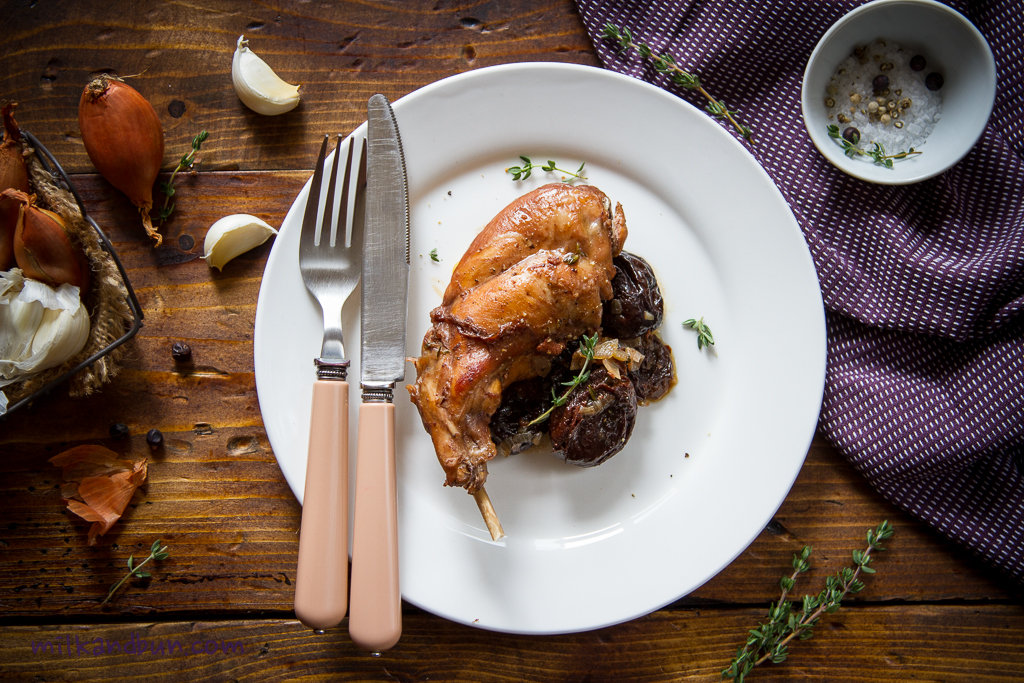
Today I realized that I haven’t ate chicken for quite a long time. When I was a teenager chicken drumsticks weren’t available as a separate part of a chicken. When my mother wanted to prepare chicken for dinner she used to buy whole chicken thighs and cook it as is or cut into two parts.. I’m not even sure that drumsticks are on sale in Russian stores now, may be except the capital. Anyway, nicely spiced and roasted chicken drumsticks is a good and quick-to-cook midweek meal (with some rice or potatoes on a side) or a very good accompaniment to a beer! For this recipe I grind dried coriander seeds, then add turmeric and mild paprika, stir into the meat along with olive oil and let it marinade. If you’re hungry, skip the marinating and roast it straightaway! 🙂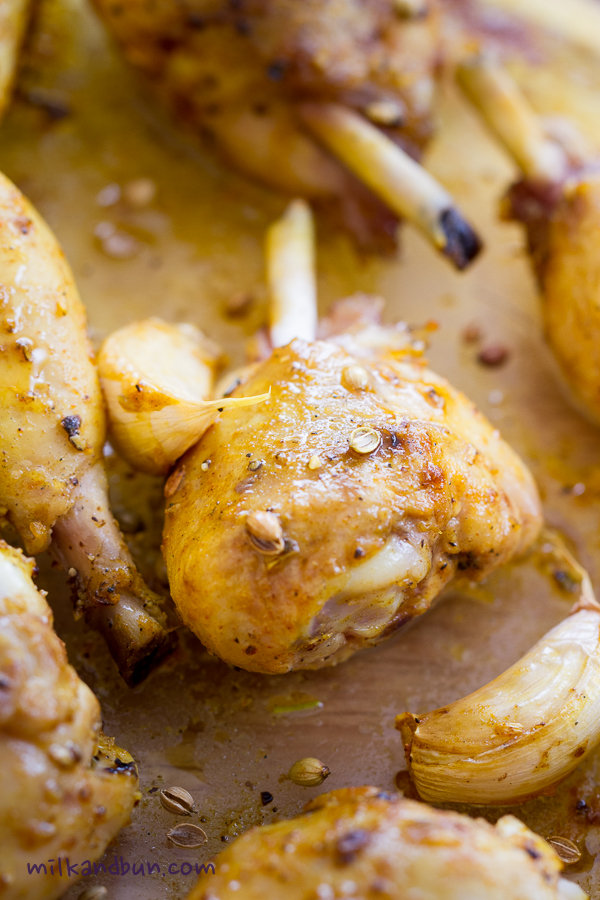
Coriander Chicken Drumsticks
- Grind or crush coriander seeds, mix with turmeric and paprika. Combine with olive oil and lime juice. Rub the marinade into chicken drumsticks. Add garlic cloves, season generously with pepper and salt to taste. Cover and leave to marinade in the fridge for 1-3 hours, or skip this step and arrange chicken (with all marinade juices) onto a baking tray or dish.
- Bake in the preheated 200C oven for 20 minutes. Then low the heat to 150C, cover with a piece of foil and bake for 10 minutes longer or until the drumsticks have cooked through.
- Serve warm, but they are also good cold. The cooked drumsticks will keep in the fridge for 2 days.