Tag Archives: DIY

Sunday Breakfast: Oladushki

 One of the most-viewed and visited posts in my blog is “oladushki”. For those of you who don’t yet know the meaning – it’s Russian name for small pancakes. Yes, it’s absolutely incorrectly to call them blini as many people do (blini are large and thin like crepes, look here), and how they are usually called in restaurants or sold in stores.Oladushki with sour cream
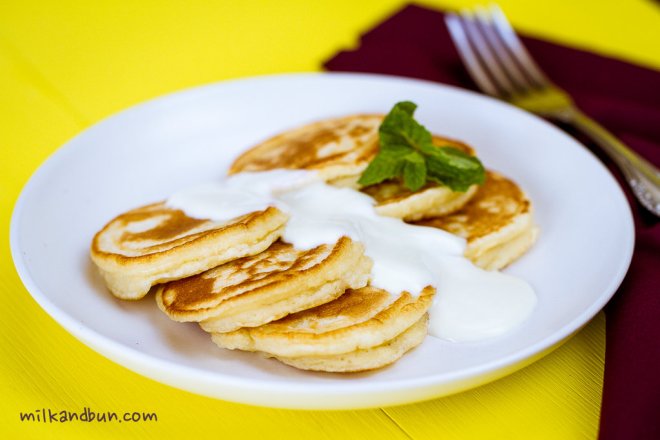
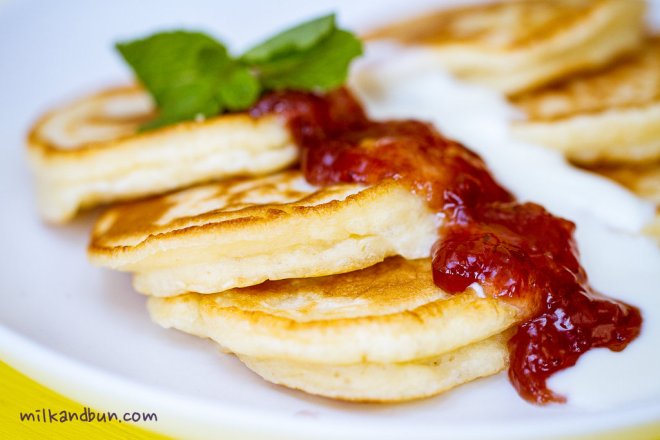
 This is the perfect breakfast or brunch to spoil yourself with on the weekend, and it could be made in a short time. Russian housewives most of the time use soured or any leftover kefir to prepare these soft beauties. You can try to substitute with buttermilk, drinking but thick yogurt, or as I did – used laban (local dairy drink). Oladushki go well with many sauces: honey, sour cream, sweetened yogurt, jam or sweet condensed milk. You can also serve them as a savory breakfast: with cream cheese or sour cream along with cured salmon or caviar.Russian Oladushki with jam&yogurt
 Few tips on how to make oladushki soft and fluffy (not only to add a baking soda for leaving):
you should sift the flour (add the air); do not over-mix the batter (it leads to tough texture);
let the batter rest for a half an hour and then do not stir it again (otherwise the bubbles will deflate);
carefully scoop the batter from the side of the bowl – do not dip the spoon into the center;
finally, when you flip oladushki over – do not press it with a spatula.
 So, this or next weekend morning that you make these oladushki, make a few extra. Cover tightly with plastic wrap and keep in the fridge. And next hectic morning you don’t need to skip breakfast: reheat them, sit down&enjoy and plan for a successful day. 🙂
Soft&fluffy Russian oladushki

Sunday Breakfast: Russian Oladushki

  • Servings: 2-3
  • Difficulty: easy
  • Print
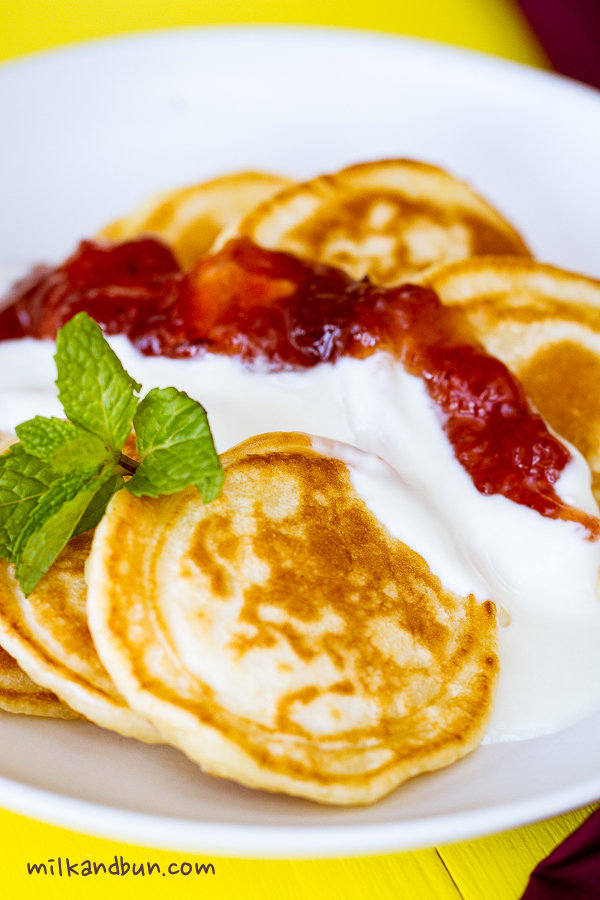
I served oladushki with plum preserve and vanilla yogurt.
All ingredients should be at room temperature, so take them out of the fridge 1 hour ahead.
Ingredients
1 medium egg
a pinch of fine salt
1-2 tsp white sugar
250ml kefir (laban or buttermilk), warm
170g plain flour
1/3 tsp baking soda
sunflower or any other veg.oil for frying
Method
  • In a large mixing bowl, beat an egg with salt and sugar until fluffy. Mix in kefir.
  • Sift the flour with soda into the batter. Whisk gently until the ingredients are just incorporated. Do not overmix –  it leads to tough texture.
  • Let the batter rest for a half an hour and then do not stir it again (otherwise the bubbles will deflate).
  • Preheat the frying pan (until a drop of water skitters across the pan), lightly coat with oil.
  • Carefully scoop the batter from the side of the bowl. When oladushki are dry around the edges and bubbles over the top – turn it over. Don’t press oladushki with a spatula!
  • Transfer to a large plate in a single layer, keep it uncovered (you may keep them in a warm oven), while preparing the rest.
  • The best eaten fresh with your favorite sauces. But they also can be covered with a plastic wrap and kept in the fridge until the next morning.
Enjoy!

Potato pizza-pie

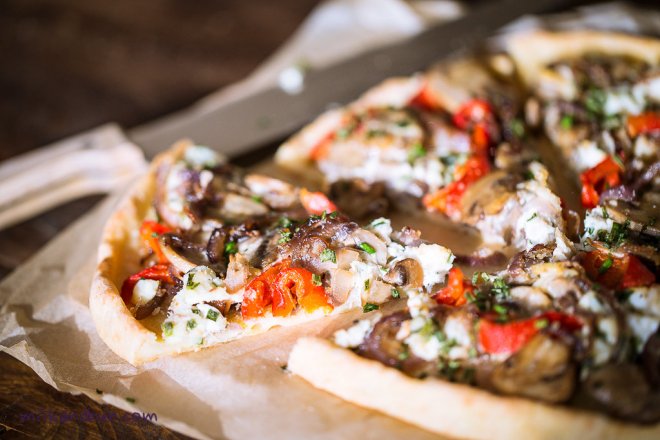
 One day I decided to make a savory potato pie, but to use potato in the crust instead of filling. I imagined myself a good fluffy pie with a creamy filling of fried mushrooms, onions and something else. When I made and rolled out the dough, I realized that it looks more like a pizza not a pie. 😀 However, the potato crust suit nicely to all these colorful ingredients which I used, including some cooked fish leftovers. Grilled bell pepper and bright spring onion gave an extra kick to this pie. Honestly, I was surprised how good and delicious the pizza-pie turned out. 🙂
Potato pizza-pieI’m co-hosting FF#104 with lovely Hilda@alongthegrapevine (she is so creative and has lots of unusual recipes on her blog); so, I’m inviting everyone to join, we share many delicious food there, and you can chat with other foodbloggers and of course don’t forget to like and say “wow, yummy or just hi”! 😀 Read the guidelines here. Happy cooking! 🙂

Potato pizza-pie with fish, bell pepper and mushrooms

  • Servings: 4-5
  • Difficulty: moderate
  • Print
Ingredients

Crust

200g/2 medium potatoes
1 bay leaf
20g butter
1 medium egg
sea salt, to taste
2-3 Tbsp grated parmesan, optional
~150g plain flour
Filling
100-150g cooked fish fillet leftovers (I used sea bream)
a pinch of freshly grated nutmeg, optional
1 meduim red bell pepper, grilled or roasted, sliced
150g mushrooms
1 large red onion
a bunch of spring onion or chives, chopped
100ml double cream or 30-35% fat cream
Other
1 tbsp olive oil+1 tbsp butter, for frying
sea salt, freshly ground white pepper
Method
  1. Clean, peel potatoed, cut into fourths. Put in a pan along with some salt and bay leave, cover with water and boil until ready. Drain. Add butter, season with salt and mash potatoes. Stir in egg. Mix in parmesan, if using. Sift the flour into potato mixture, combine into a soft dough (add some more flour if the dough is too wet).
  2. Grease the baking paper (to suit your baking tray). Roll the dough out on this paper. Put in a freezer for 5-7 minutes (or in a fridge for 15 minutes).
  3. Meanwhile, prepare the filling. Slice mushrooms and onions, fry on a medium-high heat in a mixture of oil and butter (you can do it in a one large frying pan, but don’t mix it-put side by side and fry). Stir 1/3 of the cream into mushrooms, and season to taste. Set aside.
  4. Add some butter into the same pan and chopped spring onion (reserve some for garnish, optional), saute for 2 minutes on a low heat –  you only need to soften the onion.
  5. In a bowl, mix fish with the remaining cream, sautéed spring onion and nutmeg, season to taste.
  6. Sprinkle crust with breadcrumbs. Bake it without filling in a preheated 180C oven for 15 minutes.
  7. Spread onion, fish, mushrooms and pepper slices over the crust. Bake for 15-17 minutes more.
  8. Sprinkle with remaining spring onion (optional). Serve warm.
Enjoy!

I’m also sharing it with Saucy Saturdays, Foodie Friends Friday, Foodie Friday

Oven fries and homemade potato seasoning

 Many of us like potato fries/chips, and I’m not an exception. 😀 Yes, I know that they are not healthy.. But if your diet is balanced and healthful most of the time, you can have one cheat day during a week or so. However, it’s certainly preferable to make your own homemade fries. And I mean roasted fries instead of those deep-fried and greasy. My secret to great and tasty fries is a special spice mix, that I prepare myself: for that you need to combine rosemary, turmeric, paprika and some other spices (look at the recipe below). This seasoning suits perfectly to both regular and sweet potatoes. Once tried, you might want to make a larger jar next time! 😉Oven roasted potato fries

 Enjoy your aromatic snack!

Oven fries and homemade potato seasoning

  • Difficulty: easy
  • Print
Oven roasted fries
Sweet or regular potatoes
Potato seasoning
Olive oil
  • Wash and peel potatoes. Cut them into slices (or wedges if you like), put in a large bowl of cold water. Soak for a 20-30 minutes.
  • Preheat oven to 200C/400F.
  • Drain potatoes and pat dry on a kitchen towels (or use kitchen paper).
  • Put potatoes on a baking tray, generously sprinkle with potato seasoning and drizzle with a bit of oil. Spread into one layer.
  • Bake for 30 minutes. If you have a broiler – broil it for 6-7 minutes more.
  • Enjoy as is, or with your favourite sauce or as a side dish to chicken or meat.
Potato Seasoning
2-3 tsp dried rosemary (whole or crushed)
1/2 tsp dried oregano leaves, crushed
1.5 tsp turmeric
1.5 tsp coriander, crushed
1 tsp sweet paprika
1/3-1/2 tsp hot smoked paprika
1/2-1 tsp curry, optional
sea salt, to taste
freshly ground coarse black and white pepper, to taste
Happy cooking!

Knyshy

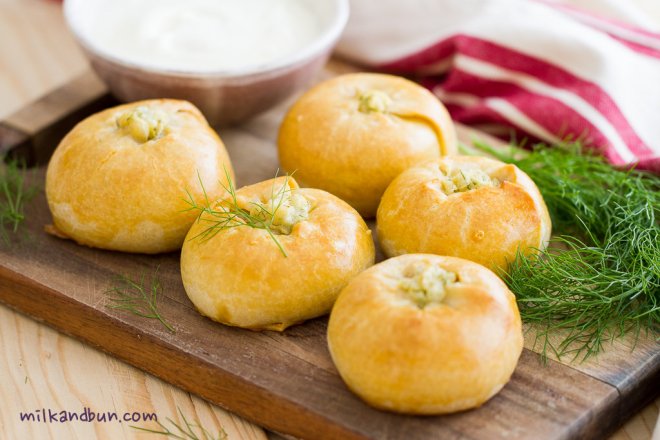
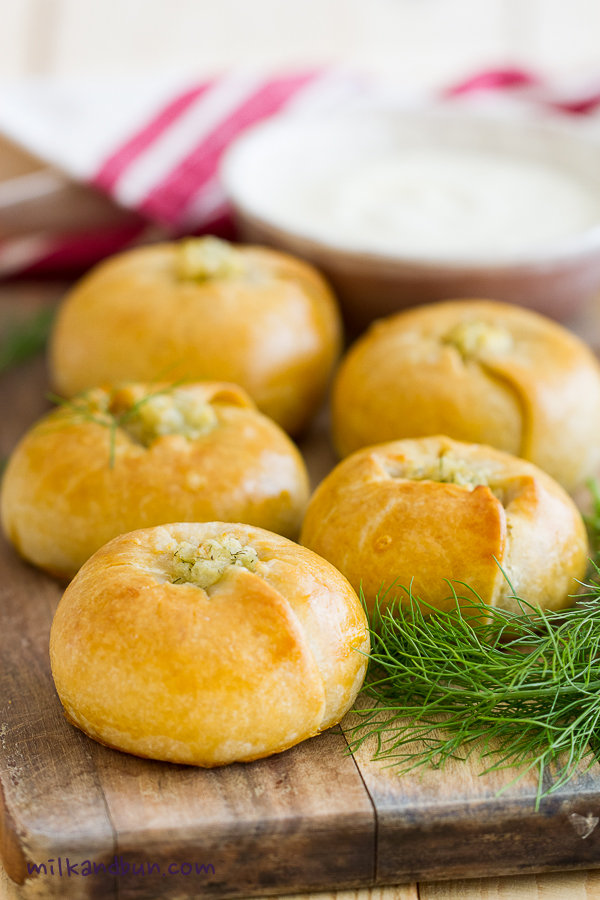
 One day I was watching numerous foody videos.. among those millions just one stuck in my head. Russian cook (don’t know his name) made small pies with potato filling, which he called knyshy. Pirogki with potato mash are one of my favourite, they always bring back memories about parents’ home ..kitchen, my mother is making pies, me and my sister are impatiently sitting and waiting while pirogki are baking in the oven.. Sweet time!

 The difference between these pies and regular Russian pirogki is in the dough and shape, first ones are round, second are oval and usually made from yeast dough. I browse the Internet, and found not much information about these little pies. According to different sources, knyshy belong whether to old-Russian or Belarusian cuisine. In 19th century knyshy were widely-eaten pies among middle-class people, and the most popular filling was buckwheat kasha with fried onion and bacon.Knyshy

 It took me some time to shape them and make look like small barrels filled with tasty potato mash instead of rum (or whatever you imagine when hear barrel), but knyshy turned out beautifully and puffy, so they definitely worth all the hard work.

This slideshow requires JavaScript.

Knyshy - little pies with potato filling

  • Servings: 16 pies
  • Difficulty: moderate
  • Print
Ingredients
Dough:
1 egg
120ml sunflower oil
120ml warm water
1 tsp vinegar
400g plain flour
1/2 tsp salt
1 tsp baking powder
Filling:
600-700g potatoes
1 large onion, chopped
1 tbsp oil+ 1 tsp butter for frying
1 tbsp butter
some chopped dill, optional
salt, pepper to taste
Egg wash
1 egg, beaten
Method
  1. In a bowl whisk egg with oil, water and vinegar.
  2. Sift flour with salt and baking powder into another large bowl.
  3. Pour the egg mixture into the bowl with flour. Mix all ingredients together, cover the bowl with plastic wrap and leave to rest for 40 minutes.
  4. Meanwhile, prepare the filling. In a frying pan heat oil with butter, add onion and fry until lightly golden. Clean and peel potatoes, cut into medium chunks and boil until ready, drain. Using a potato masher blend butter into potatoes until soft. Mix in fried onion and dill, if using. Season with salt and pepper to taste.
  5. Divide the dough into two parts. On a lightly floured surface roll out one part into 30x40cm rectangle. Spread half of the filling near the edge of the longest rectangle side. Make the roll. Cut the roll into 8 pieces: 5cm width each.* Carefully seal the ‘hole’ on one side, shaping into a roundish form (like a small barrel), place pie sealed side down on a lined and greased baking sheet. Repeat with all pies.
  6. Brush all pies with egg wash. Bake in preheated 190C oven for 40 minutes.
*You may cut the roll into smaller pieces to get more but small-sized pies.
 
Enjoy!
Knyshy - pies with potato filling

Wheel bread with herbs

 I believe almost everyone loves freshly-baked bread. I bet you can easily imagine its irresistible aroma right now in the air.. 😉 If you have ever tried to make your own bread, you may know that it’s a complex and work-intensive process, especially if you’re making a starter for the dough. The fermentation takes up to 4 days, and you need to keep an eye on the starter and feed it almost like a baby. So, not everybody has a patience or simply time to make it, and for those mankind created yeast! Using yeast makes our lives easier (at least for me); such dough doesn’t take all that much time, and you only need a few ingredients to make a simple bread. And definitely homemade bread is tastier that a store-bought one.

 It wasn’t complicated at all to make this beautiful wheel bread. Actually, it reminds me more a pie without a filling, but I absolutely love its texture (because of corn flour) and awesome herb-y smell! Wheel bread with herbs

I recommend consuming it the same day it’s made.
Ingredients for 6-8 Servings
Dough:
8-9g instant yeast
2 tsp white sugar
200g corn flour
300g plain flour
1 tsp salt
320ml warm water
Filling:
3 clove garlic, minced
2 tbsp chopped fresh basil
1 tsp chopped fresh rosemary
5-6 sun-dried tomatoes, chopped 
2 tbsp olive oil
salt, freshly ground pepper to taste
 
Method
  1. In a cup, put yeast and sugar, add some warm water, stir, cover and keep for 10 minutes.
  2. In a large bowl, sift flours, add salt. Then stir in the yeast. Slowly add all warm water and knead the dough. Place the dough on a table and knead it, then put back into bowl, cover with plascti wrap or towel and leave to rise for 40-60 minutes.
  3. For the fiiling, in a small bowl combine all ingredients.
  4. On a lightly floured surface kneed the dough lightly. Roll out into 5-6mm thick circle, cut into 5-6cm width strips. Spread the fiiling on the dough. Then arrange all strips into ‘a rose’ (on a lined baking sheet), starting from the smallest strip, continue rolling other strips around it.
  5. Bake in preheated oven 190C for 25-30 minutes.
  6. Allow it to cool slightly on a wire cooling rack. Serve with a glass of milk or cup of tea.
Enjoy!
Adapted from here
1 2 5