Tag Archives: comfort food

Knyshy

 One day I was watching numerous foody videos.. among those millions just one stuck in my head. Russian cook (don’t know his name) made small pies with potato filling, which he called knyshy. Pirogki with potato mash are one of my favourite, they always bring back memories about parents’ home ..kitchen, my mother is making pies, me and my sister are impatiently sitting and waiting while pirogki are baking in the oven.. Sweet time!

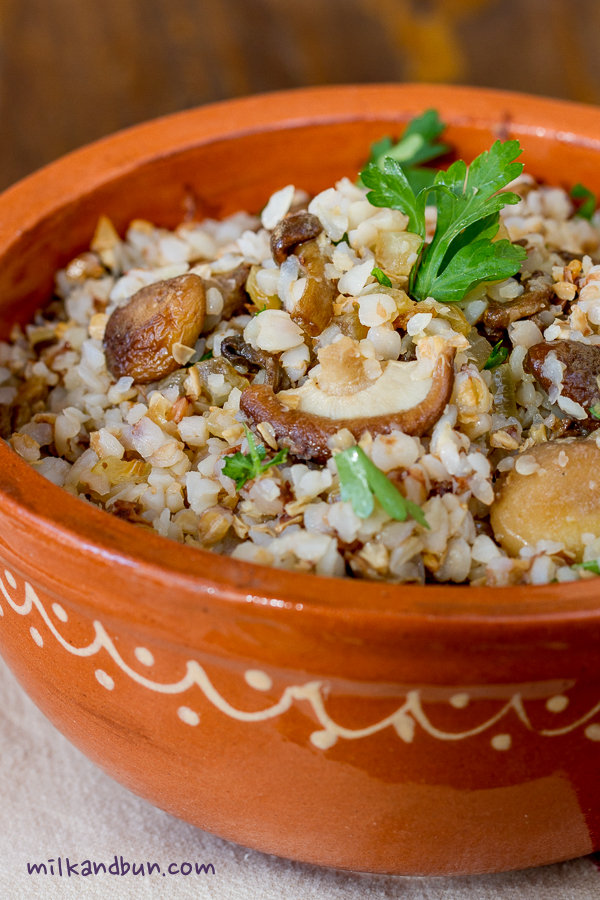
 The difference between these pies and regular Russian pirogki is in the dough and shape, first ones are round, second are oval and usually made from yeast dough. I browse the Internet, and found not much information about these little pies. According to different sources, knyshy belong whether to old-Russian or Belarusian cuisine. In 19th century knyshy were widely-eaten pies among middle-class people, and the most popular filling was buckwheat kasha with fried onion and bacon.Knyshy

 It took me some time to shape them and make look like small barrels filled with tasty potato mash instead of rum (or whatever you imagine when hear barrel), but knyshy turned out beautifully and puffy, so they definitely worth all the hard work.

This slideshow requires JavaScript.

Knyshy - little pies with potato filling

  • Servings: 16 pies
  • Difficulty: moderate
  • Print
Ingredients
Dough:
1 egg
120ml sunflower oil
120ml warm water
1 tsp vinegar
400g plain flour
1/2 tsp salt
1 tsp baking powder
Filling:
600-700g potatoes
1 large onion, chopped
1 tbsp oil+ 1 tsp butter for frying
1 tbsp butter
some chopped dill, optional
salt, pepper to taste
Egg wash
1 egg, beaten
Method
  1. In a bowl whisk egg with oil, water and vinegar.
  2. Sift flour with salt and baking powder into another large bowl.
  3. Pour the egg mixture into the bowl with flour. Mix all ingredients together, cover the bowl with plastic wrap and leave to rest for 40 minutes.
  4. Meanwhile, prepare the filling. In a frying pan heat oil with butter, add onion and fry until lightly golden. Clean and peel potatoes, cut into medium chunks and boil until ready, drain. Using a potato masher blend butter into potatoes until soft. Mix in fried onion and dill, if using. Season with salt and pepper to taste.
  5. Divide the dough into two parts. On a lightly floured surface roll out one part into 30x40cm rectangle. Spread half of the filling near the edge of the longest rectangle side. Make the roll. Cut the roll into 8 pieces: 5cm width each.* Carefully seal the ‘hole’ on one side, shaping into a roundish form (like a small barrel), place pie sealed side down on a lined and greased baking sheet. Repeat with all pies.
  6. Brush all pies with egg wash. Bake in preheated 190C oven for 40 minutes.
*You may cut the roll into smaller pieces to get more but small-sized pies.
 
Enjoy!
Knyshy - pies with potato filling

Salad “Tashkent”

 Tashkent is the capital of Uzbekistan, one of the former USSR countries. According to one version this salad was created in Moscow during USSR times, when Soviet government set the task to popularize the various national cuisines of the Soviet Union. Due to a very limited availability of the ingredients in most parts of the USSR, Soviet cuisine can be characterized as simple. So, the salad also had to be simple, tasty and nourishing. Another version says that the salad was created by chef of the “Tashkent” restaurant in Moscow, where it also was served for the first time.
 Main ingredients are boiled beef and green radish, sounds simple but believe me the salad will be very tasty! Unhealthy side is dressing, because it’s mayonnaise. So, I suggest to make and eat this salad during weekend, or serve it for a special occasion and everyone will certainly be in awe. 😉 You can also substitute mayo with sour cream, but the taste will be slightly different. Another option for dressing is flavorful sunflower oil, that sometimes mixed with a teaspoon of vinegar. Chose the option and enjoy the salad! 
Tashkent Salad
  • Servings: 4
  • Difficulty: easy
  • Print
Ingredients 
400-500g beef fillet
800-900g green radish (I used daikon/Chinese white radish)
4 eggs, hard-boiled
1 large brown onion
2 tbsp sunflower oil for frying
100-150g mayonnaise for dressing (or sour cream/sunflower oil)
fresh chopped coriander or parsely for serving, optional
pomegranate seeds for serving, optional
salt, black pepper to taste
 
Preparation
  1. In a large pan, put the raw meat, cover with cold water, season with salt. Bring to boil, remove the foam, reduce the heat to medium, and simmer for 50-60 minutes. Optionally, you can add few peppercorns, bay leaf, small onion to get aromatic stock which you can use later. Cool the meat, then cut into julienne (thin strips).
  2. Cut eggs into thin strips. Optionally, instead of cutting eggs into strips you can cut them into 4 wedges and garnish the salad.
  3. Cut radish into julienne. Sprinkle radish with salt and let stand for 15 minutes, drain the liquid. If you are using green radish, cover it with cold water and leave for 1 hour to get rid of bitterness; then drain the water.
  4. Thinly slice the onion into half-moon. Heat the oil and fry the onion until golden-brown.
  5. In a large serving bowl, mix radish with onion, add beef, season with salt and pepper. Carefully stir in eggs and dress with mayonnaise. Garnish with coriander/parsley and pomegranate seeds.

Sharing at lovely Fiesta Friday party by Angie, and co-hosts this time Jhuls and Laurie.

Russian buckwheat kasha with mushrooms

 Buckwheat has always been a popular grain in Russia. It was brought in 7th century from Greece and soon became  extremely popular. Buckwheat was new and unknown grain in Russia, so it was called “Greek grain” or shortly “grechka”. It’s not a surprise why buckwheat was very beloved in old Russia: peasants called it “mother”, they grown it in a large amounts, so it was cheap and affordable grain. Moreover, it’s cooked quickly and has a high nutritional value – a plate of buckwheat kasha (porridge) for breakfast can keep you full for a long time. Buckwheat porridge was a favorite meal not only among peasants, it was also cooked for upper classes but with plenty of butter or sour cream. 
 Nowadays, there are lots of recipes with buckwheat, it’s cooked with milk and eaten for breakfast or as a side dish for meat like beefstroganov. Buckwheat porridge with fried onion and mushrooms is a popular dish in Russia, especially during the Great Lent when grains, vegetables and mushrooms become the main foods.
Russian Buckwheat Kasha
  Hope all lovely bloggers partying at Fiesta Friday will like this Russian buckwheat porridge, it contains vitamins, healthy organic acids and oils! Enjoy! 🙂

Russian buckwheat kasha with mushrooms

  • Servings: 2
  • Difficulty: easy
  • Print
During the Great Lent or for vegetarian option omit the butter or substitute it with any veg.oil 
IngredientsBuckwheat Kasha (porridge)
200ml buckwheat
400ml water
1 tsp butter
1 Tbsp sunflower or other veg.oil
1 large onion, chopped
200g mixed mushrooms (or 400g frozen), chopped
25-30g butter
salt, pepper to taste
fresh chopped parsley, optional
  1. Wash buckwheat, put it a thick-bottomed or iron-castle pan, fry on a low heat without any oil for 2-3 minutes. Add water and good pinch of salt. Bring it to boil on a medium heat, then reduce the heat to low, add a teaspoon butter and simmer for 17-20 minutes or until all water will be absorbed. Don’t stir buckwheat during the cooking. When it’s ready, take the pan off the heat, cover with lid and few kitchen towels, let it rest for 5-10 minutes.
  2. Meanwhile, heat the oil in a frying pan, add onion and fry for few minutes. Stir in mushrooms, season to taste and fry on a medium-high heat until mushrooms are ready.
  3. Stir the mushroom mixture and butter into buckwheat. Sprinkle with parsley, if desired. Serve warm as a main dish or side dish to chicken, stewed meat or sausages. Enjoy!

Buckwheat Kasha with mushrooms

Winter Orange Cake

Hello everyone! Hope you had wonderful and joyful winter holidays! As you may know from my previous posts, me and my husband have been to Russia, and it was a memorable and great trip. We celebrated New Year and Christmas eves with the whole family, met with friends, and had lots of fun with a snow: throwing snowballs, rolling and tumbling around, and exploring virgin and deep snow on foot! Once we almost were frozen to the bones, because it was -30C/22F (and the phone told me it was felt like -40C in the night)! But wool socks, mittens, fur hats and thick coats do wonders! 😀
So, I was torn by what recipe to start 2015 with. I decided to warm up cold days with a superb and fantastically delicious winter dessert -an orange cake. Oranges and mandarins may not be the most obvious fruits in baking, but for me it symbolizes the winter season. The smell of mandarins rind always brings back my childhood memories, when my parents bought them for the New Year eve. The cake is moist, bright, tangy, and delightful in both taste and texture. It is also great any time of the year. 🙂
Winter Orange Cake
Orange Cake

Winter Orange Cake

  • Servings: 6-8
  • Difficulty: moderate
  • Print
You can use fresh orange slices as is, or cook them in a sweet water (1 cup water+1/3 cup sugar) for about 20-30 minutes on a medium heat – it helps to get rid of orange bitterness.
IngredientsOrange Cake-2
2 small oranges or 1.5 medium size, sliced
3 Tbsp demerara sugar
160g butter softened
120-150g golden caster sugar, depends on your taste
3 heaped tbsp orange jam (or fine-cut marmalade)
3 eggs, beaten
160g plain flour
1/4 tsp salt
1 1/3 tsp baking powder
40g almond powder (ground almonds)
1.5 medium-size oranges or 2 mandarins, finely grated zest and juice
Glaze:
3 heaped tbsp orange jam/marmalade
1-2 tsp orange-flavoured liqueur (Grand Marnier or Cointreau), optional

Method

  1. Preheat oven to 180C. Grease the 18cm loose-bottomed cake tin. Sprinkle the base with demerara sugar. Arrange orange slices on the base, making overlapping layer.
  2. Beat the butter and caster sugar until pale, mix in marmelade and beaten eggs. Fold in flour, salt, baking powder, almonds, orange or mandarin zest and juice.
  3. Pour the batter into tin. Bake in the oven for 45-55 minutes, until golden and firm to touch.
  4. Allow to cool for a few minutes at room temperature.
  5. Meanwhile, make a glaze by warming 3 Tbsp jam and liqueur (if using) in a small pan with a little water.
  6. Carefully turn out the cake onto a serving plate, while it’s still warm. Prick holes in the cake. Spoon glaze over the cake.
  7. Serve warm! Enjoy!

Adapted from Jamie Oliver magazine/issue 26

Bright Orange Cake