Tag Archives: dessert

German Cheesecake – Käsekuchen

 Last weekend I went shopping to the local supermarket and found a dairy product which was new to me – fromage fraise (quark). So, I bought the quark in the hope of finding a recipe and use it somehow. I was browsing the net, when stumble upon the info that Germans making their cheesecake version and using quark; even though I use Jamie Oliver’ cheesecake recipe most of the time, I decided to try new recipe without hesitation. And what do you think! The cheesecake turned out golden and very fluffy, but after setting in the fridge it fell down.. The texture was creamy and tender, and it reminded me the bake with cottage cheese from my childhood. So, if you are not fun of heavy and over-sugary cheesecakes, it’s your option! I will make it again for sure.German Cheesecake

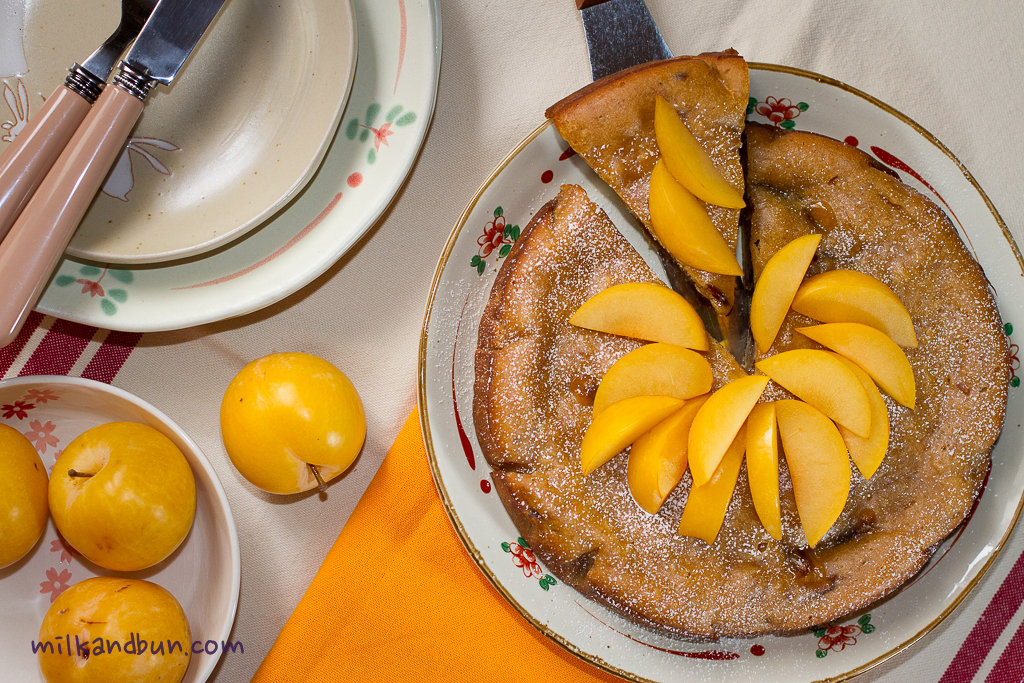
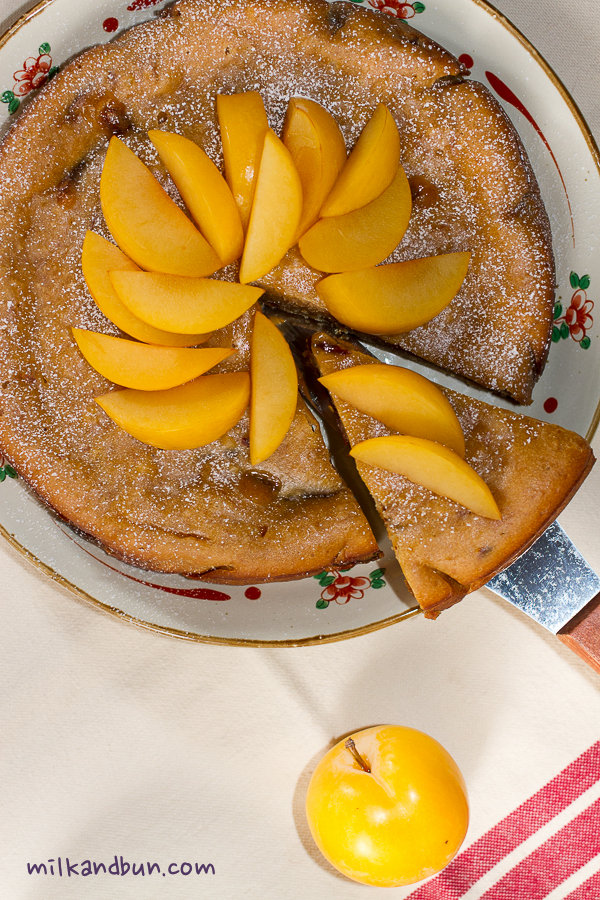
German Cheesecake - Käsekuchen

Ingredients for 22cm baking pan

Crust
170g all-purpose flour
1/2 tsp baking powder
a pinch of salt
1 tsp vanilla extract or vanilla sugar
1 Tbsp granulated sugar
70g butter
1 egg
Filling
600g quark
3 eggs, separated yolks and whites
150g granulated sugar
80g butter, at room temperature
1/2 lemon, grated zest, optional
180ml heavy cream
vanilla bean, seeds
1 tbsp cornstarch
1 tsp lemon juice
a pinch of salt
Method
  • Crust. Sift the flour in a big mixing bowl, add baking powder, salt, vanilla, sugar and mix. Add butter and egg, knead until smooth. Cover the dough and keep in the fridge for 30 minutes.
  • Filling. Beat egg yolks with sugar and vanilla until pale. Add butter, lemon zest and beat again. Add heavy cream and quark and stir to combine. Beat egg whites with salt and lemon juice until stiff; then gently fold into the quark batter along with cornstarch, adding a little at a time.
  • Line the baking pan with paper. Roll out the dough into 30cm circle, or simply place it in the baking pan and press it, pushing it up the sides to make a rim.
  • Pour the filling over crust and smooth with spatula.
  • Bake in preheated 160C oven for 45-55 minutes until the top is golden and the filling set. If the top browning too much, cover with a piece of foil.
  • Cool the cheesecake at the room temperature, then cover and refrigerate for 3-6 hours or overnight.

Enjoy!

Cheesecake/Quarkcake

Jam Cake

 This cake is well-known in my home-country, and it’s quite popular among village people, or at least who prepare homemade jams. Oh, we love make jams in Russia! Nothing can beat a real homemade jam, jam for which you picked up fruits or berries yourself in the garden or forest during summer. And like everything is done at home the taste of every jam in every home is unique. When it is dark and dank outside, or even when it’s a snowstorm during cold Russian winters, it’s such a great pleasure to be at warm and cozy home, sip a hot herbal tea with a spoon of jam, or spread it thickly over a piece of bread.
 Many Russian grandmothers used to make this cake, mainly when was a cup of jam left, and nobody wanted to eat it up. Among such ladies was grandmother of my classmate, she used to make delicious cake with strawberry jam! 
 The cake recipe is very easy and quickly to prepare, you need only few ingredients and patience while it cooks, and the result is sweet and tasty cake! Ability to use any jam is excellent, every time you’re getting new-flavoured cake! Isn’t it cool? 

Jam Cake

Jam Cake

Ingredients
200ml jam, not watery (I used plum jam)
200ml full fat kefir
1 tsp baking soda
50-100g white sugar, depends how sweet is jam
1 big egg or 2 small
300-350g all-purpose flour
In a big bowl, mix jam and soda, leave it for 5 minutes. In another bowl, slightly beat eggs with sugar. 
Add kefir and beaten eggs into jam mixture, stir well. Add flour, and combine all ingredients.
The consistency of the batter should be little bit thicker than for pancakes.
Pour batter into greased pan, bake in preheated 180C/360F oven for 50-60 minutes.
Sprinkle with icing sugar and decorate with fruits or berries, if desired.
Enjoy!

Jam Cake with plums

Red currants ‘n’ cardamom Muffins

 Some time ago in Russia, small cakes-muffins-were called keksi, but since muffins’ popularization many people call them muffins! I think, almost all people like muffins, and may be some of you have a special recipe or ingredient. I do like experiment with flours and spices; I’ve bought soy flour recently and trying to use, I don’t see much difference with it so far.. If you know any good ways or recipes to use it, I would appreciate if you share it with me. 
Muffins
 So, about other additions to muffins batter, berries are one of my favorite. Raspberry is best-loved, but what about currants? I’ve seen in a blogosphere couple posts with it, and surprised, that it is not widely-grown and not quite  popular. Poor berries, if only they knew how underrated they are. When I lived in Russia, I ate lots of black, red and white currants. There were too many of blackcurrant bushes in parents garden, so I even dislike to pick them up.. Twigs of sour and bright redcurrants were easier to pick – straight away to my mouth! 😀 Blackcurrant in Russia is like blueberry in USA, has similar shape and taste, interchangeable berries.
 
 Today recipe combines Russian and Eastern flavours – red currants and cardamom. Enjoy!
Red currant

Red currants ‘n’ cardamom Muffins

  • Servings: 6-7 medium muffins
  • Difficulty: easy
  • Print

Ingredients

70g plain flour/all-purpose
3/4 tsp baking powder
1/4 baking soda
a pinch of salt
1/2 tsp cardamom, finely crushed seeds
30g soy flour
25g wholemeal flour
30g ground flaxseed
1 egg
2 Tbsp sunflower oil
70g kefir (or sub with yogurt)
80-90g liquid honey (I used dark one)
120-140g red currants, or mix of red and black (or sub with blueberries)
 
Method
  • In a large bowl, beat egg and honey, add kefir, oil, and stir. Sift the flours, baking powder and soda, salt, add flaxseed and cardamom into egg mixture. Combine.
  • Lightly cover berries in a flour, then carefully fold them into the batter. If using frozen currants, don’t defreeze them, add to the batter straight from the freezer.
  • Fill muffin tins or one cake tin and bake in preheated 180C/350F oven for 20-25 minutes.
Red currant & cardamom Muffins

Cherry Strudel with nuts

  First time I have tried strudel at home. It was a frosty winter day, I was at home finishing a homework after school, when my mother came and told me she’d got a new dessert recipe! I was so excited, because it has been a habit in our family, almost every evening we had a tea with some freshly-baked pies, buns or danishes whether it were homemade or store-bought.. Easy to guess, it was a strudel recipe. At that time of the year we could make only apple-raisin filling; compare to today it was impossible to buy even frozen cherries, only if you hadn’t froze it by yourself last summer. So, we had some nice apples, which were picked from garden and kept in a cellar, raisins and walnuts; the recipe worked so good, the pastry turned thin and smooth.. and we liked the result – new, mysterious and so delicious strudel! 🙂 Believe me or not, since then I’m using exactly the same pastry recipe and it works! 🙂

 Certainly, you can cheat and use filo pastry, though you should try to make the pastry from scratch at least once, it only sounds complicated. Most of you know, that nothing could beat the homemade pastry! 😉
Cherry Strudel
 Do you know, that first strudel recipe is dating back to 1696; strudel legend says that the Austrian Emperor’s chef  was perfectionist, he even made an order that strudel pastry should be so thin that you could read a love letter through it!
Scrumptious Strudel

Cherry Strudel with nuts

Ingredients
Pastry:
250g all-purpose white flour
1 egg
50g melted butter
125ml warm water
a pinch of salt
Filling:
700-900g pitted cherries
3-5 Tbsp caster sugar
4 Tbsp finely crushed almonds or breadcrumbs
3 Tbsp walnuts, coarsely chopped
3 Tbsp hazelnuts, coarsely chopped
40g currants (black)
40g golden raisins
3 Tbsp cognac/brandy/rum
 
40g melted butter, for glazing
1-2 Tbsp icing sugar, for serving
 
Preparation
  1. The pastry. Sift flour on to a clean surface, add salt, and make a  well in the middle. Slightly beat an egg with water and butter, add the mixture into flour. Knead the dough for 10 minutes, time to time punch it down and throw until it becomes elastic and smooth. Wrap it in clingfilm and leave it at room temperature for 30 minutes.
  2. Preheat the oven 200C/400F. Line the baking tray with baking paper, grease it with some melted butter or oil.
  3. The filling. In a cup or small bowl, put all washed raisins and cover with cognac; soak for 15 minutes, then pour out remaining cognac. Cut cherries into halves, you may keep some whole.
  4. The pastry. Dust a workspace with flour and roll out the pastry into rectangle as thinly as possible. You can place wet and floured tea-towel, and do it on it. When you can’t roll the pastry any more, begin stretching it using your hands – place back side of your hands under the pastry and stretch it. Keep on going until it is very thin or you can see pattern of the tea-towle through it.
  5. Brush the rolled dough with melted butter. Sprinkle with crushed almonds, leave en edge 3cm uncovered. If using breadcrumbs, brown them in some butter until golden-brown.
  6. Spread cherries, and sprinkle with sugar. Adjust amount of sugar, depending on your taste.
  7. Scatter raisins and remaining nuts on top.
  8. Fold uncovered edges in, then roll up the pastry into a sausage shape. 
  9. Gently put the strudel on the baking tray, brush with melted butter. Bake for 35-45 minutes until the pastry is golden.
  10. Allow to cool slightly before serving, dust with icing sugar. Serve while it’s still warm with vanilla ice cream or sauce.
 For the vanilla sauce, in a medium pan warm 125ml milk and vanilla bean (don’t allow to boil); add 1 beaten egg yolk along with 1Tbsp caster sugar and 1 tsp cornmeal into pan; stirring constantly, cook on a medium heat for 9-12 minutes, until the sauce thickens a bit. Let it slightly cool and serve with strudel.
Absolutely tasty!
Let’s party, lovely bloggers! Let’s drink (ha, only lemonade so far..) and eat all those tasty dishes, that we’ve brought at FF! 🙂

Syrniki

 Syrniki are fried pancakes, which are made from cottage cheese and traditionally garnished with a sour cream. They are very popular and widely-cooked not only in Russia, also in Ukraine, Belarus and Poland. The word ‘syrniki’ is derived from Russian word ‘syr’ which means cheese.
 The main ingredients are cottage cheese, flour, eggs, sugar, sometimes raisins and vanilla. Commonly syrniki are eaten for freakfast, but could be served as a dessert.
 You can find a great variety of syrniki recipes, in one you should add one egg, in another three, in third just few spoons of flour or semolina flour, and etc. Finally, it doesn’t matter which recipe you’re using, just adjust it to suit your own taste.
TIPS:
Flour and sugar. One adds only few tablespoons of flour, in such option, might be difficult to shape syrniki and turn them over during frying, as they will be soft, but at the same time tender and creamy. Amount of sugar is totally depends on your preferences.
Filling. Raisins and vanilla are most popular ingredients for the syrniki filling, but you can go further – add cinnamon, dried apricots, plums or cherries, lemon or orange zest.
Dressing. Sour cream, jam and sweet condensed milk are the most favourite toppings for syrniki. If you neither like the one nor the other, make berry or chocolate sauce, or just dust it with icing sugar, or pour over some honey, add dulce de leche…
Syrniki-2
You can fry syrniki on a moderate heat in a frying pan for 5 minutes on each site or until golden-brown (using few tablespoons of sunflower oil). I propose you the recipe of an oven-baked syrniki, which is much better and healthier, as you don’t need to use oil.

Russian Syrniki

  • Servings: 3-4
  • Difficulty: easy
  • Print
Ingredients:
Cottage cheese, 500g
Eggs, 2
Sugar, 2-4 Tbsp
Flour, 50-80g
a pinch of salt
Semolina, 2 Tbsp
Vanilla sugar or extract, 1 tsp, optional
Raisins/sultanas, 50g
Preparation:
  1. In a small bowl or mug, put raisins, cover with warm water and let it soak, meanwhile you do all below steps. Optionally, you can add a tablespoon of cognac, brandy or rum along with water for an extra flavor. Then pour the water out and wipe raisins.
  2. In a large bowl, combine eggs, sugar and vanilla together and beat well until pale color (use hand whisk or electric mixer).
  3. Add flour, semolina, salt, raisins, and combine well.
  4. Shape beautiful syrniki -about 5cm/2inch in diameter and 1cm/0.5inch wide.
  5. Arrange syrniki on a greased baking tray and bake in preheated 200C/400F oven for 20-25 minutes or until nice golden color.
  6. Serve warm with a dollop of sour cream.
  7. You can keep all remaining syrniki in a fridge, and reheat them next morning.

Syrniki are so delicious that I could eat them every other morning. Cooking of syrniki is highly recommended as alternative to regular pancakes! 🙂

Enjoy! ❤

Syrniki-1

Syrniki-4