Russian cuisine

Russian Beetroot Caviar

 This bright beetroot dip doesn’t contain salmon or any other fish raw. In my home-country vegetable spreads and dips that are mushed into a non-smooth consistency are often called caviar. In USSR fish caviar was an expensive product and most of the time was served over special occasions, but people have always wanted something tasty not only during holidays or weekend; and such vegetables as an eggplants, marrows and beetroots were cheap and available almost throughout the year, thus I guess economical version of the “caviar” was created.

russian-beetroot-caviar

 The recipe I found in a book dated 1990, it calls to boil beetroot, fry onions and press through the  meat-grinder machine along with other ingredients. Easy-peasy. It turned out so tasty, that i have already made it few times in a row! Moreover, it was a hit at the home-party, especially when I served this dip nicely decorated with little festive crackers; needless to say, guests asked for the recipe!
 The original Russian recipe calls for the salted pickled cucumbers, which are usually watery and personally I don’t like its taste, so I used regular crunchy pickled cucumbers and the beetroot dip was absolutely amazing and delicious! I prefer slightly coarse a caviar-like texture, so I don’t blend ingredients too much, but if you wish – just blitz it more to get the smooth dip. Enjoy!

Russian Beetroot Caviar

  • Servings: 4
  • Difficulty: easy
  • Print
Ingredients 
400g/2 medium-size beetroots
2 tps olive or sunflower oil, for frying
1/2 large brown onion
~100g pickled cucumbers
2 cloves of garlic
Salt&Pepper, to taste
Method 
  1. Boil beetroots until soft. Cool, clean and chop.
  2. Chop the onion and fry in a oil until soft and golden, about 5 minutes.
  3. Finely chop cucumbers. Also finely chop or mush garlic.
  4. Blitz all ingredients in a food processor until desired consistency.
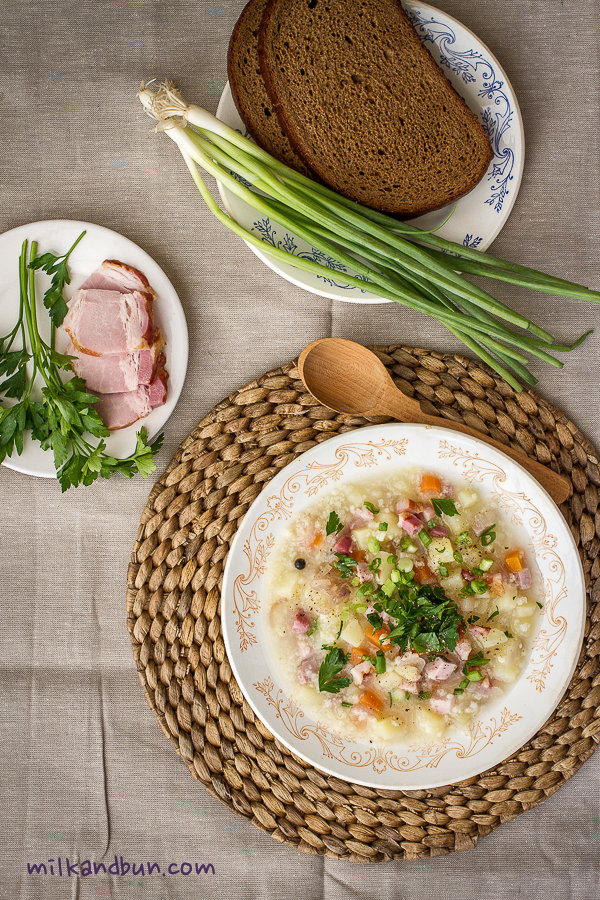
  5. Check the seasoning. Serve with rye bread or crackers.
Enjoy!

Winter Spiced Drink

I guess some of you never heard about these beautiful berries, and even not tasted them. Not sure about the correct name in English, but google says “sea buckthorn or hippophae”. These bright orange berries have a sour and slightly bitter taste, and they are well-known in my home country. I remember  late September and myself a little girl picking these berries from trees in parents’ garden. It was not easy at all, because of dense berry arrangement on each branch plus lots of thorns among the berries! It was possible to cut the whole branches but in that case the future harvest could be low. But hard works pay and it was such a pleasure to sip freshly brewed tea with bright berries in it or just eat them as is.
 Sea buckthorn has lost of benefits for the health, and contains great amount of vitamins E and C. It can be frozen, or used in making jams, pies or preparing liquors.
winter-spice-drink-3
I make this simple hot drink with frozen berries, they are of course less bitter but still tastes great! Addition of cinnamon sticks and star anise adds a nice spicy note to the drink, that always associated with cold winter days. I haven’t used any tea this time, but you can add a cup of freshly brewed black tea (plain, not flavored) to the drink and simmer all together.
winter-spice-drink-2
I truly hope that you could get and enjoy these beauties one day! Highly recommend to serve it in a glasses (or transparent tea pot) so you can enjoy not only the taste but also to watch how berries and spices ‘dancing’ in your glass!
winter-spice-drink

Winter Spiced Drink with sea buckthorns

  • Servings: 4
  • Difficulty: very easy
  • Print
You can add a freshly brewed black tea (plain, not flavored) instead of water or make 50/50 and simmer all together. 
Ingredients 
150g frozen sea buckthorns
600-700ml water
1 cinnamon stick
1-2 star anise
1tbsp brown sugar or honey to taste, optional
Method 
  • Cover frozen berries with water, add spices.
  • If using sugar add it along with spices. You can leave the drink unsweetened and serve it with honey, which is better to not to boil and preferably add to the ready drink thus it can keep all its healthy benefits.
  • Bring the drink to boil, reduce the heat to medium-low, cover and simmer for 10-15 minutes. Switch off the heat and leave to infuse for few minutes more.
  • Serve warm.
Enjoy!

Kulesh

Kulesh – simple thick soup/pottage, that was popular in old times among peasants and Cossacks. It was also called “field pottage or kasha”, as it was often cooked by farmers for their lunch during field works. This pottage consisted mainly of millet and any root vegetables that were available at the moment. Garnished with some onions and salo (salted or cured fat, usually pork one), kulesh was prepared on a fire, that added a nice smoked flavor to the whole dish.
It should be thick enough but if you prefer thinner consistency add more water. Mine was thick and nourishing because of smoked meat (cooked pork belly). Using smoked meat replaces the cooking on an open fire. But feel free to make completely vegetarian version and omit the meat.Kulesh - simple thick soup/pottage
Once I wrote that millet is a healthy grain or seed. And if you still think it’s just for the feeding birds, you’re completely wrong and miss lots of benefits of this lovely grain. It’s a good source of vitamins B, calcium and iron. Here another recipes that I do love and cook at home: sweet breakfast millet porridge and autumn recipe – millet cooked in a pumpkin pot.
So, have you ever cooked millet? What are your favorite recipes?Kulesh

Kulesh

  • Servings: 4
  • Difficulty: very easy
  • Print
You can add some cubes of celery root along with other vegetables.
Ingredients
4 medium potatoes, cubed
1 large carrot, cubed
200g millet
1 tbsp vegetable oil
1 large onion
150g smoked pork belly
1 bay leaf
fresh chopped parsley and spring onion, optional
S&P to taste
Method
  1. Boil 2l water in a large pan. Add cubed vegetables and some salt. Bring to boil, reduce the heat, cover with a lid and simmer about 15 minutes.
  2. Wash millet throughly under running water. You may also cover millet with some warm water, it helps to cook it faster.
  3. Add millet to the pot along with bay leaf and simmer for 10-15 minutes more or until it’s cooked.
  4. Meanwhile, slice or chop onion, and cut pork belly into thin slices or chop it as you like. Heat the oil in a frying pan and saute onion until it’s soft. Add pork belly and fry for few minutes.
  5. Stir the onion-pork mixture into the soup. Adjust the seasoning.
  6. Pour the soup into serving bowl. Sprinkle with fresh herbs, if desired. Serve with bread.

Enjoy!

Russian roll with Argentinian pears

 Everything is simple here. A few days ago, Argentinian pears were sold in a supermarket here, I’ve never tried them before and the price was attractive, so I bought a huge pack. Even though they turned out juicy and very delicious I still had some not-so-ripe left. Good to highlight, that using a bit hard but ripe pears that retain its shape during the baking process is a key to the good and not mushy filling.
I added tvorog (as I mentioned many times in my blog – it’s very Russian product) into the dough for my roll, it makes the dough softer and more tasty. Don’t worry, the dough won’t rip but make sure you carefully roll it out on a floured surface. Pear Roll
 The roll looks like a strudel, but the dough is absolutely different, it’s not that thin and thus much easier to roll out! It is tender&delicious and absolutely deserves to make it again and again. Another bonus, the dough can be make a day ahead! Plus juicy pears, sweet black raisins and crunchy nuts in the filling! Doesn’t it sound luscious? It is! 😀Russian roll with Argentinian pears

Russian roll with Argentinian pears

  • Servings: 6-8
  • Difficulty: moderate
  • Print

Ingredients

Dough

250g tvorog
90g soft butter, at room temperature
1 large egg
1 tbsp white sugar
200-210g plain flour
a pinch of fine salt
1/2 tsp baking powder
Filling
40g black raisins
hot strong black tea or water
1 egg white, optional
80-100g roasted almonds, chopped
450g (3-4) pears, cut into small cubes
2 tbsp brown or raw sugar
Glaze
1 egg yolk
2 tsp milk
1 tbsp demerara or raw sugar, optional
Method
  1. For the roll dough, whisk tvorog with butter.
  2. In another small bowl, whisk egg with sugar until pale. Add beaten egg into the mixture.
  3. Sift the flour along with salt and baking powder into the dough. Combine to get the soft dough, shape into the disk. Cover in a plastic wrap and put in a fridge for 30-60 minutes to cool.
  4. Preheat oven to 180C/360F.
  5. Wash raisins and cover with hot strong black tea or water. Leave to soak while ready to use. Drain.
  6. Roll out the dough on a lightly floured surface into 30x40cm rectangle, making sure it doesn’t stick to the surface.
  7. Brush the surface of the roll with egg white (optional). Sprinkle with nuts, spread pears and raisins. Sprinkle with sugar. Slightly fold in all sides (thus the filling will stay inside the roll and don’t fall out). Roll the dough into a barrel.
  8. Carefully transfer the roll on a greased lined baking tray. Brush the roll with egg glaze and sprinkle with sugar. Bake for 40 minutes or until golden-brown.
  9. Leave to cool for 15-20 minutes. Slice and serve as is or with whipped cream/frozen vanilla yogurt/ice cream.
Enjoy!

Sunday Breakfast: Oladushki

 One of the most-viewed and visited posts in my blog is “oladushki”. For those of you who don’t yet know the meaning – it’s Russian name for small pancakes. Yes, it’s absolutely incorrectly to call them blini as many people do (blini are large and thin like crepes, look here), and how they are usually called in restaurants or sold in stores.Oladushki with sour cream

 This is the perfect breakfast or brunch to spoil yourself with on the weekend, and it could be made in a short time. Russian housewives most of the time use soured or any leftover kefir to prepare these soft beauties. You can try to substitute with buttermilk, drinking but thick yogurt, or as I did – used laban (local dairy drink). Oladushki go well with many sauces: honey, sour cream, sweetened yogurt, jam or sweet condensed milk. You can also serve them as a savory breakfast: with cream cheese or sour cream along with cured salmon or caviar.Russian Oladushki with jam&yogurt

 Few tips on how to make oladushki soft and fluffy (not only to add a baking soda for leaving):
you should sift the flour (add the air); do not over-mix the batter (it leads to tough texture);
let the batter rest for a half an hour and then do not stir it again (otherwise the bubbles will deflate);
carefully scoop the batter from the side of the bowl – do not dip the spoon into the center;
finally, when you flip oladushki over – do not press it with a spatula.
 So, this or next weekend morning that you make these oladushki, make a few extra. Cover tightly with plastic wrap and keep in the fridge. And next hectic morning you don’t need to skip breakfast: reheat them, sit down&enjoy and plan for a successful day. 🙂
Soft&fluffy Russian oladushki

Sunday Breakfast: Russian Oladushki

  • Servings: 2-3
  • Difficulty: easy
  • Print
I served oladushki with plum preserve and vanilla yogurt.
All ingredients should be at room temperature, so take them out of the fridge 1 hour ahead.
Ingredients
1 medium egg
a pinch of fine salt
1-2 tsp white sugar
250ml kefir (laban or buttermilk), warm
170g plain flour
1/3 tsp baking soda
sunflower or any other veg.oil for frying
Method
  • In a large mixing bowl, beat an egg with salt and sugar until fluffy. Mix in kefir.
  • Sift the flour with soda into the batter. Whisk gently until the ingredients are just incorporated. Do not overmix –  it leads to tough texture.
  • Let the batter rest for a half an hour and then do not stir it again (otherwise the bubbles will deflate).
  • Preheat the frying pan (until a drop of water skitters across the pan), lightly coat with oil.
  • Carefully scoop the batter from the side of the bowl. When oladushki are dry around the edges and bubbles over the top – turn it over. Don’t press oladushki with a spatula!
  • Transfer to a large plate in a single layer, keep it uncovered (you may keep them in a warm oven), while preparing the rest.
  • The best eaten fresh with your favorite sauces. But they also can be covered with a plastic wrap and kept in the fridge until the next morning.
Enjoy!