I’m sure you know that Easter is on the way (Catholic falls on April 5 and Orthodox April 12), and you’re probably planning what to cook, or searching your notes with traditional recipes. I think some of you have a special main course recipe for this occasion, or may be it’s a wide range of recipes. What will you choose this year? An elegant dish or simple&casual? I think, with spring bringing nice and pretty weather, that you’re likely to be in the mood for something hearty and light! 🙂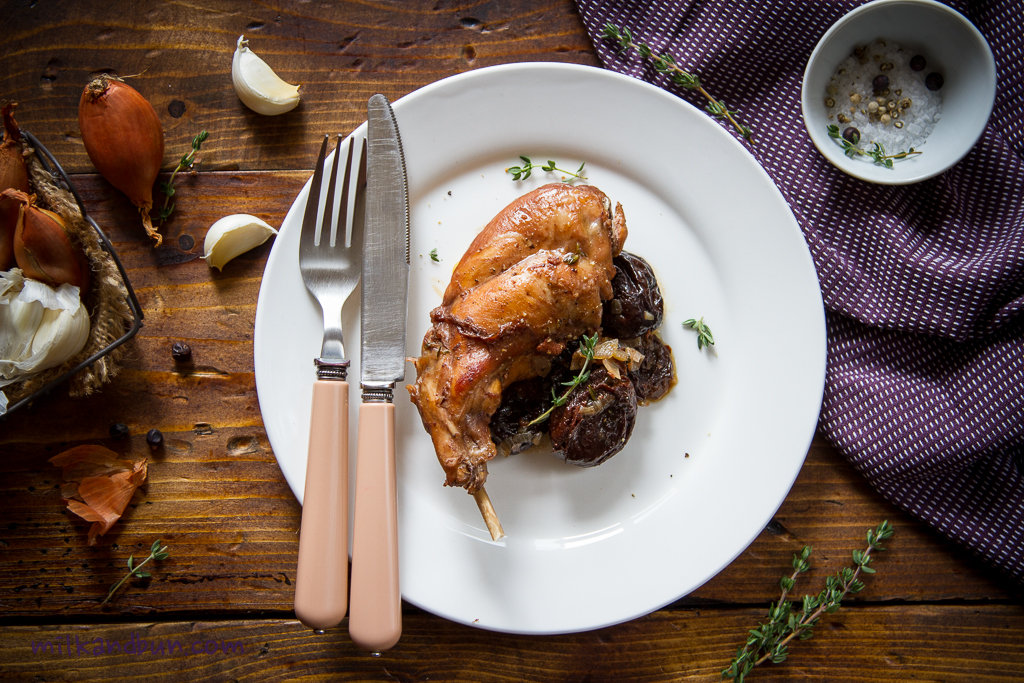 I’ve always been partial to rabbit; when I’m visiting my parents in Russia I’m always pleased to eat a rabbit stewed in sour cream. It’s always tender and delicious, of course because it’s prepared by my mom. 😀 Today recipe is elegant and great for a special dinner! I’d like you to try rabbit with prunes and thyme, braised in red wine. It requires few ingredients to be transformed into a flavoursome meal! Enjoy!
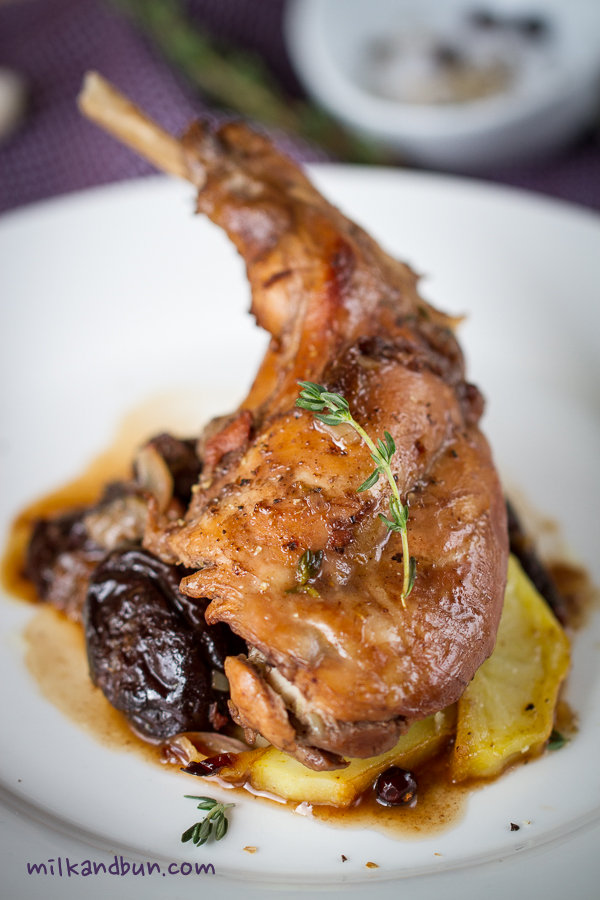
Braised Rabbit with red wine, prunes and thyme
- Joint the rabbit, wash it and put in a large bowl, fully cover the meat with water, add vinegar if using, then cover with a wrap and leave to marinate for 1-3 hours. It helps to make rabbit meat more tender and get rid of any unpleasant smell.
- Heat the oil and butter in a heavy-bottom pan on a medium-high heat. Add the rabbit pieces and brown each side for 6-8 minutes or until golden colour. Take out the rabbit pieces and place aside. Don’t clean the pan.
- Reduce the heat to medium, add onions, garlic, peppercorns (if using), juniper berries, bay leaf, some thyme leaves and sauté for 3-5 minutes or until onion have softened. Add rabbit, pour over wine and scrape up the bottom of the pan. Bring to boil, reduce the heat to medium and simmer for 15 minutes.
- Fold in prunes and remaining thyme. Season to taste. The liquid should come half way up the rabbit pieces. So, add some water, if needed. Reduce heat to low, cover with a lid (keep a small slit) and braise the rabbit for 45 minutes. Now turn the rabbit pieces on the other side, adjust the seasoning, again cover the pan with a lid and braise for further 40-45 minutes. The rabbit should be easily pulling off the bone.
- Serve with sliced boiled/roasted potatoes, or rice. Add a tablespoon of sour creme, if desired.