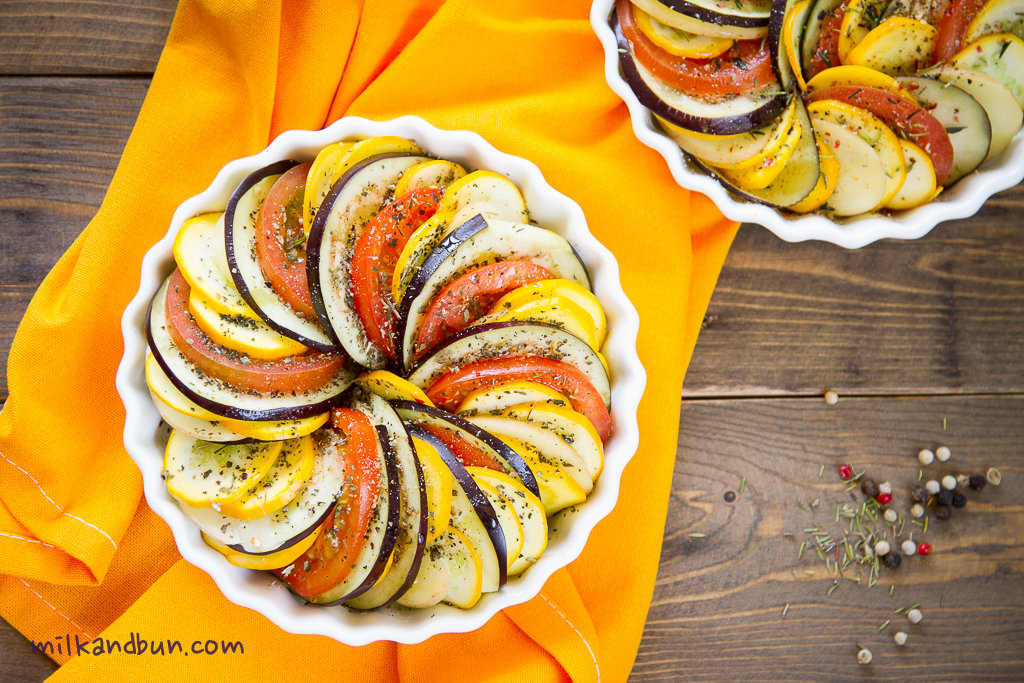
I’ve been on a homemade everything kick for a quite long time.. 😀 Homemade crackers is not an exception. I’ve tried lots of crackers recipes and usually crackers turned out like cookies, not very crunchy, tasted like shortbread cookies, or I was unable to roll out dough thinly. Finally, after tasting and comparing different recipes, I created my own recipe of salty crackers. You need only few ingredients to prepare these amazingly tasty, crunchy and aromatic crackers! The dough contains extra virgin olive oil and rosemary, natural bitterness and pepperyness of the oil and piney aroma of the herb give incredible taste and smell to the dough and crackers. You can make sticks, twists or roll out the dough very thinly and cut out any shape you like. I enjoy these crackers as is, it’s a nice midday snack; you can also make a sauce and dip crackers into it.
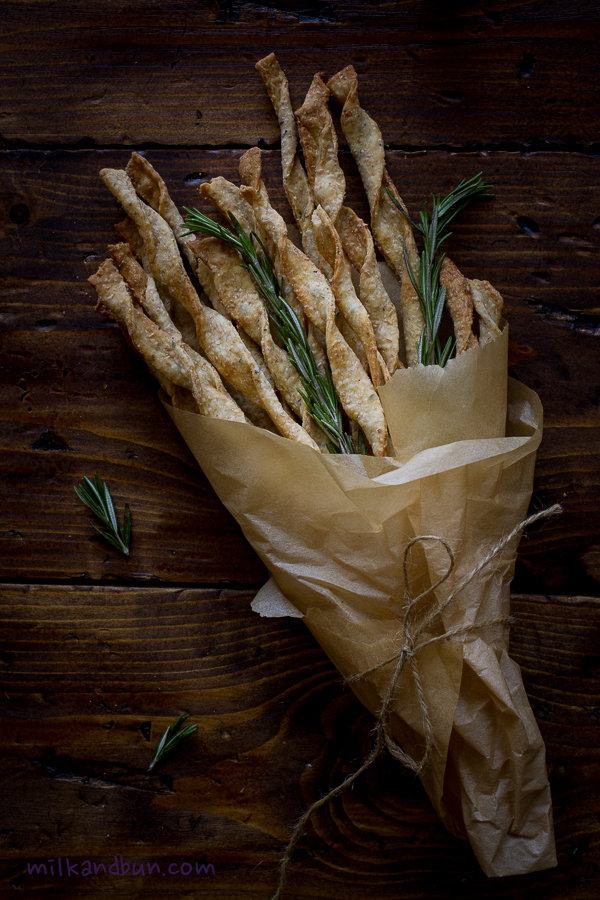
Olive Oil and Rosemary Crackers
- In a large bowl, mix flours, baking powder, salt, pepper, rozemary. Add water and mix with a spatula or wooden spoon. Add olive oil and mix again. Place the dough on a lightly floured surface and knead with hands. Add a bit more flour if the dough is too sticky.
- Cut the dough into equal 6-8 pieces. Roll each piece into circle as thinly as you like, cut into squares, diamond shape. You can also cut into strips (1.5-2cm width, 15cm length) and then twist each strip.
- Place crackers on a baking sheet and bake in preheated 220-230C (450F) oven for 10-11 minutes or until golden color.
I keep crackers in airtight container in the fridge up to 5 days.