I’m sure most of you eating bread almost every day. And I guess you have pretty much leftovers, which going to be mouldy or dry out. My decision is not to buy or eat less bread, is to make your own homemade breadcrumbs! Of course, you can make a bread pudding or French toasts with the leftover bread, but I bet you do not always have a time to prepare it in the morning. Easy to follow steps allow you to make aromatic breadcrumbs, which is extremely good and more tasty than store-bought, and you know all ingredients you’ve used. Include different types of bread and play with herbs, I prefer rosemary, thyme, basil, sage. Breadcrumbs should be store in an air-tight container, or even in the freezer. When you need some, just spoon out the amount of breadcrumbs you need.
I make a simple pasta topped with breadcrumbs, or stuffed chicken breasts. You can also make a delicious snack – baked slices of zucchini and/or eggplants. For that you need to combine breadcrumbs with dried or minced garlic, chopped fresh parsley and thyme, fresh ground pepper, olive oil, grated parmesan, then top each slice of veggie with the mixture and bake. 🙂
I hope you will never buy commercial breadcrumbs again, or at least you will try. 😉
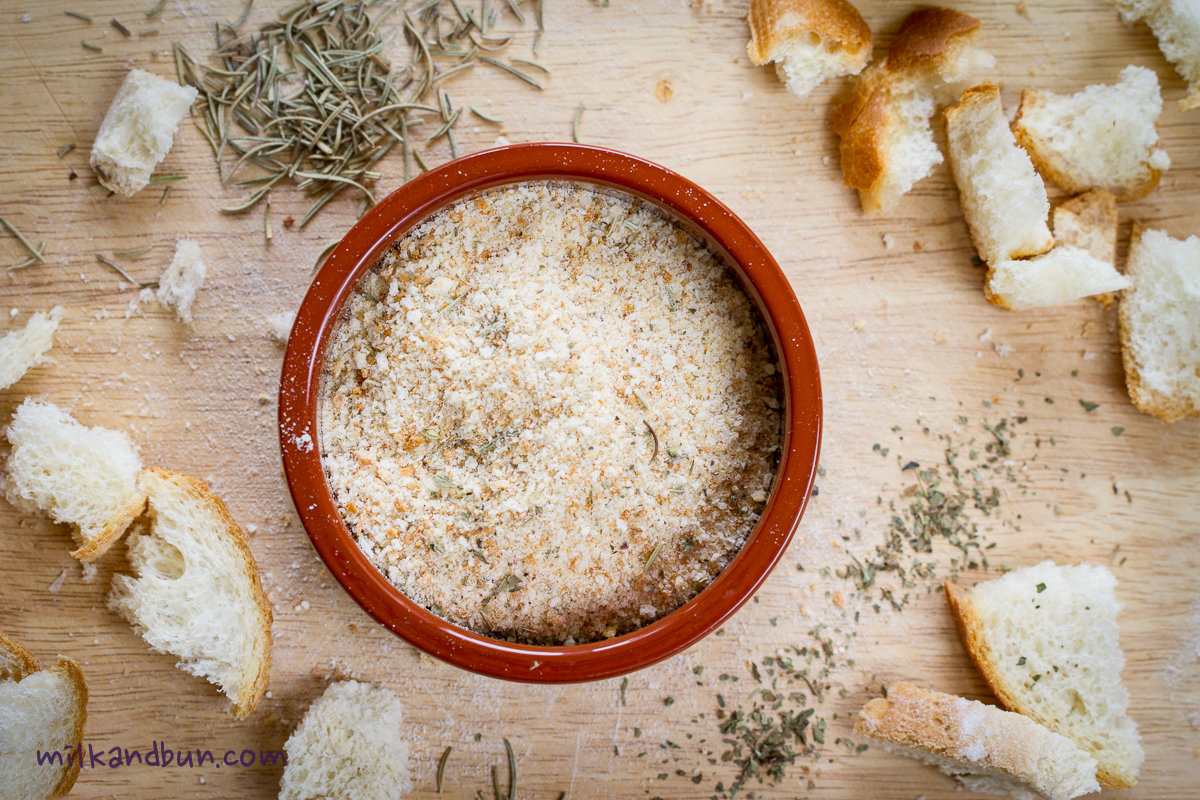
Homemade Aromatic Breadcrumbs
If you have only few leftover bread slices, cut them into cubes, put into a freezer bag and place in the fridge. When you’ve got more leftovers, keep adding bread pieces to the bag until you have enough quantity. Then follow the recipe steps.
Ingredients
one/two-days old bread or any leftovers
1 tsp each: rosemary, basil, thyme
- Cut bread into small pieces with a knife, then arrange on a baking tray. Bake in preheated 160-170C/150C-fan oven for 20-30 minutes or until bread pieces is golden and crispy.
- Put bread pieces into a food processor along with dried herbs and blend to a small crumbs. You can also put bread pieces into a plastic bag and smash it with a kitchen mallet.
- Put into a glass jar/container and cover tightly. Or put breadcrumbs into a freezer bag and keep in the freezer.