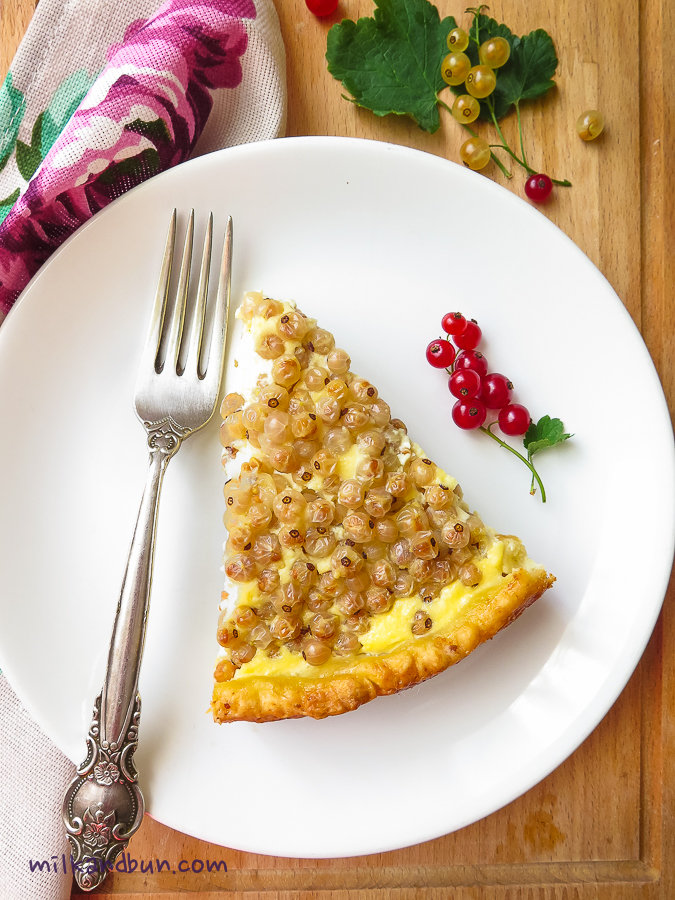
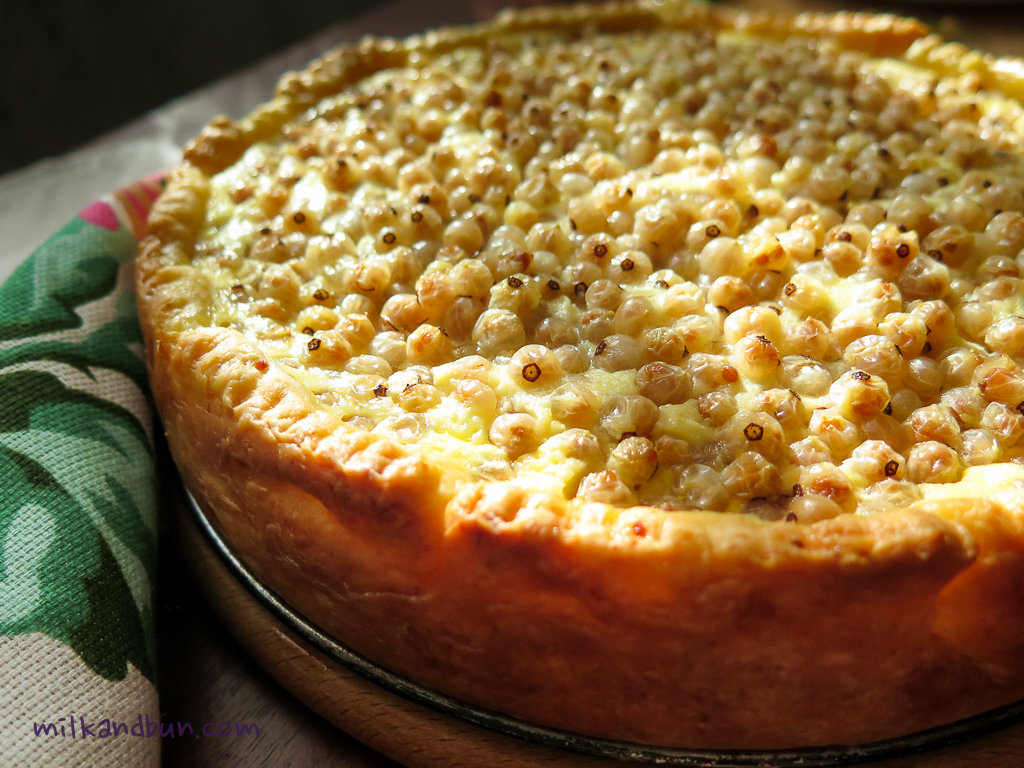
If you follow me on Instagram, then you know it was +40C a couple of days ago in Dubai. Add 80% the humidity and it feels like +60C. Now you can imagine, that when I went out to meet up with a friend I felt like I’d been in a steamer room. Generally over the half of summer lasts in this way; don’t know what has happened this year but I remember only few humid days.. What was I talking about? Ahhh, I got fresh figs! I remember the very fist time when I have tried them. 😀 Figs aren’t often sold here, especially for affordable price, so I prefer to consume them as is or in a simple salad: figs-prosciutto-nuts-arugula. But you know what? I wanted a pie or tart. It’s a normal thing for me, I always have a craving for pies! 😀 Desire and lack of butter did the job: you can see my sweet creation!
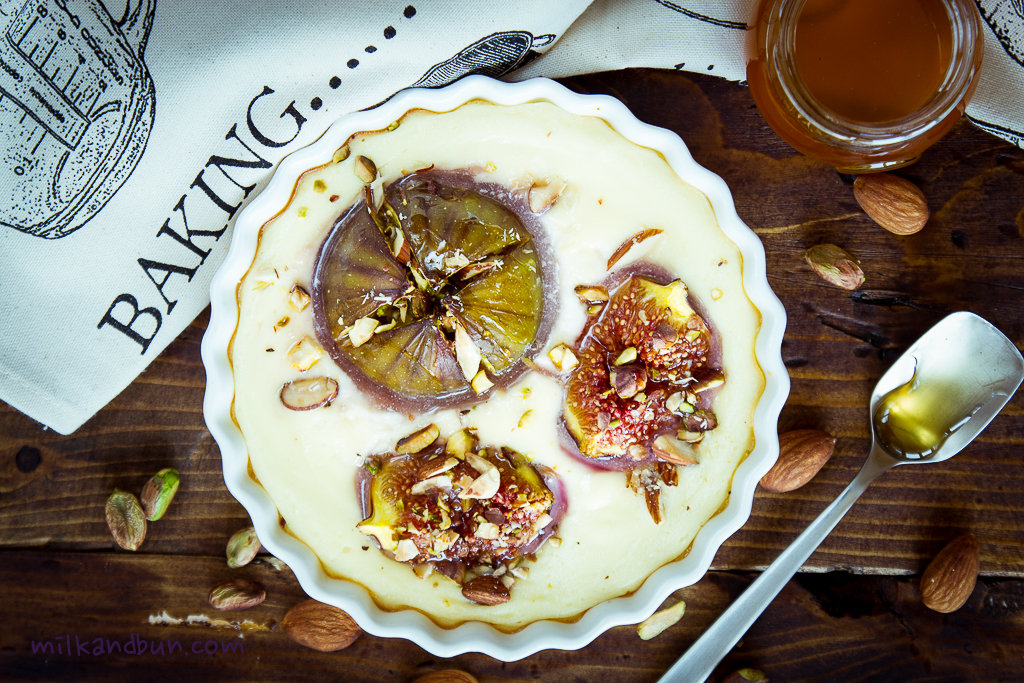
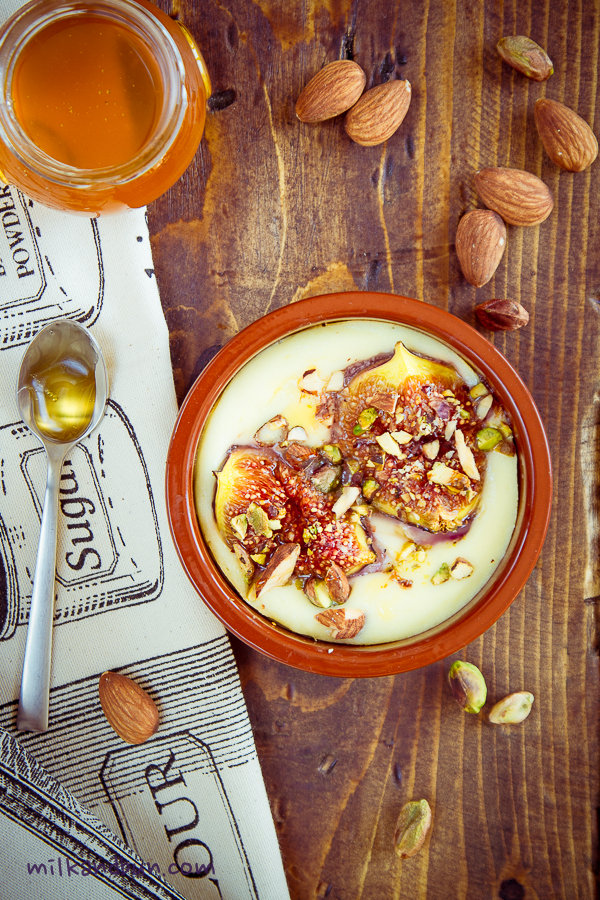
Figs baked in ricotta cream
- Make a ‘x’ cut in each fig or cut into fourths. Drizzle with cognac and lemon juice. Leave to marinate for 10-15 minutes.
- In a bowl, beat eggs with sugar and vanilla. Mix in ricotta.
- Divide the ricotta cream between two baking dishes, or pour into one. Arrange figs on top. Sprinkle with nuts.
- Bake in preheated 200C oven for 15 minutes. Drizzle with honey. Serve warm.